Showing posts with label patterns. Show all posts

Feb 5, 2014

"What Does the Fox Say" Valentine Card and Other Forest Friends

Are your kids as obsessed with the song "What does the Fox Say" as mine are?  They just had to listen to it on You Tube one night, so we found it and I was sure there had to be something disgusting and distasteful about the whole thing because otherwise it just doesn't make any sense at all.  But it wasn't at all.  It was just.....well....dumb I guess.  But kids absolutely love it.  So when I was thinking about what to make my kids for Valentines day I was searching for ideas online and happened to see a super cut fox craft and that inspired my idea for this card:


I am going to fill the card with stickers (since my kids love to put stickers on EVERYTHING).  It is just silly, they will love it because we sing the song all the time at our house and change the words and the sounds.  I don't actually know any of the words or sounds but as long as you know the tune you can pretty much fake it til you make it.  I think any kid will get a major kick out of it.  I found the pattern for the fox hereI resized it in my word program and then cut out the pieces and traced them on paper.  I chalked the edges to give it extra dimension.  I stuck it on the card with foam dots to make it raised.  After making the fox my mind started racing thinking how cute it would be to have a whole set of little forest creatures to surprise my kids with on Valentines morning.  So I adapted the pattern, changed some of it and added new pieces and created this super cute forest friends set:
 
 
Meet Raccoon. 
 
 And skunk.
 
And you already know Mr. Fox
 
I am not sure exactly how I am going to use them all yet but I just had to share them with everyone.  They are really easy to make and so adorable.  They would be cute for any time of year, not just Valentines day.  If you would like patterns for the Raccoon and Skunk you can find links below. 


Pin It!
Print Friendly and PDF

Mar 13, 2013

Easter Bunny Bunting

After Christmas is over I love to take down all my decorations and leave my house decorationless for a little while.  It makes everything feel big, and roomy and fresh.  But when the snow melts outside, and the sun starts to shine more and buds for on the trees then I am ready to decorate for spring and this year I wanted to add a spring bunny banner to my decor.  There are a lot of really cute ideas out there.  I took inspiration for all the ones I found and came up with this one.

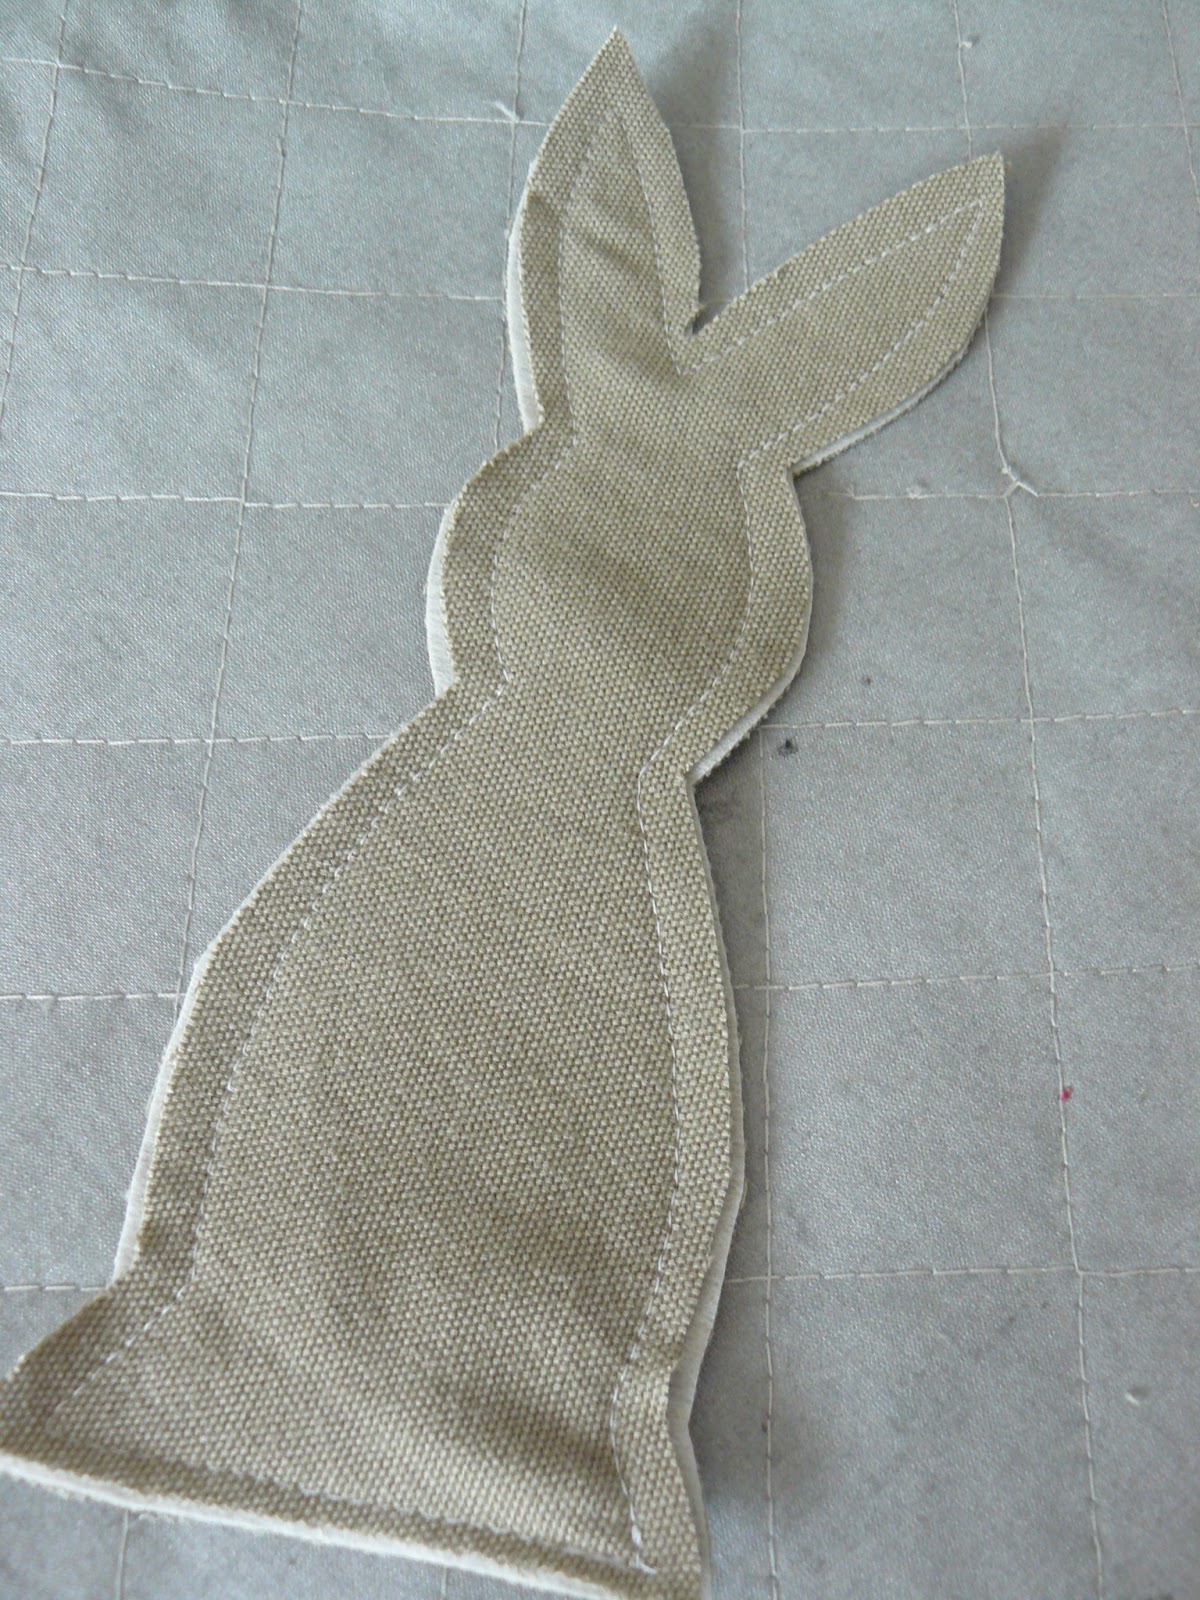
For this project I used a piece of heavy weight Pellon which I ironed onto one half of my piece of fabric.  This way I could fold it in half and cut two pieces of the pattern.
Fold fabric in half, pin pattern and cut out 2 pieces.  
Sew the pieces together
 Then trim with pinking shears.
 For the bunny backs I glued a cotton ball on for a tail.
 For the bunny fronts I drew two small eyes with permanent marker, chalked the cheeks and added a bow
 Then I created my pennant shapes and added paper eggs decorated with these great masking stickers from Wholeport.
 All that was left was to assemble.  I glued everything to a thin ribbon alternating bunny tails and bunny faces.
 The end result is simple and perfectly springy.  The whole thing was so quick and easy to make.  
 What could be cuter than a fluffy cotton tail for Easter?

Just another one of those projects that makes me wish I had a mantle.  This is very mantle worthy don't you think?


Pin It!
Print Friendly and PDF

Feb 19, 2013

"Some Bunny" Door Hanger

I'd like to take a minute and introduce you to my brain.  It never shuts off and so when I am doing something completely normal like throwing away an empty cracker box, just as I am about to toss it into the trash I look at it once more:
and see this:
And the box is rescued and stashed away in my craft room with all the other containers that have given me a crafting vision.  It is fantastic and exhausting because I have the hardest time throwing things away-seeing what they could become.  I have way more supplies and ideas than I will ever have time to turn into creations but since I continue to pray for ideas to come I can't just brush them off and toss them.  Someday every one of the boxes will become something awesome.  You all are lucky enough to get to see this cracker boxes fate: and adorable Easter Bunny Door Hanger

 This particular project uses the 15oz size box of Great Value multigrain crackers (which p.s. are very good).  I have scaled the milk carton pattern to fit it exactly so if you choose a different size box then you might want to check the milk carton size just to make sure it fits.

Supplies for this project:
1 cracker box
scrapbook paper
spray glue
white cardstock and milk carton template (see bottom for link)
adhesive backed fun foam (white and pink)
pink chalk
black marker

1. To begin measure up from the bottom of the box 2 inches and mark all the way across the box (it is hard to see on this picture but I do have a line across the width of the box).
2. Now turn the box to it's side and mark a 2 inch mark and then a 3 inch mark and draw a line attaching the 2 dots.
3. Cut along all the marked lines, and then cut off the remaining box front leaving you with a nifty little holder.  Mark and cut out an oval shape to make it hangable (is that a word...it is now).  (NOTE: this fits over some door knobs very easily and some not so easily so keep that in mind-you may want to adjust the shape of the hanger hole-but keep it an oval-it allows the hanger to slide to one side slightly to fit on a door knob better).  After you have this done you can cut cardstock or scrapbook paper to fit over all parts of the holder.  
4. Now print (onto the white cardstock) and cut out the milk carton template x2.  Fold according to marked lines (if you notice at the top it is missing 2 angled lines but they should be there and you need to fold where they should be).  If you haven't made one of these before you might just want to make a practice one.
I hold mine together with double sided tape.
5. Using the template provided, or create your own and trace the bunny ears onto the white fun foam.
6. Cut out the ears and cut off a 1/2 inch of the backing paper on the bottom of the ear.  You want to be able to stick these to the milk carton but don't need the entire adhesive back exposed.
7. Use your pink chalk and chalk the ear middles and then embellish with tick marks around both ears (made with a black ink pen)
8. Before you staple the milk carton closed you will of course want to fill it with treats to share with your neighbors or whom ever you are giving this to.
9. Lastly add the nose (cut from pink fun foam) and draw a little face.  I also chalked my bunnies cheeks.
10. Now slip these little bunnies into their comfy box.
11. Print and add your tag and you are set to spread a little spring cheer with neighbors and friends.

Who wouldn't be thrilled to come home to find these cute little friends hanging on your door.
Making an oval opening allows you to be able to have the hanger slide more to one side to accommodate a tight door.
"Hoppy" Easter everyone.  Now go and share these with some "bunny" you love.


Also shared here:

Tuesday To Do Party
Get Your Crap Together
Pin It!
Print Friendly and PDF

Jan 8, 2013

Valentines Wear for Boys: 4 Applique Ideas


It is easy to find things that are pink or red with frills and hearts and ruffles for girls for Valentines Day but finding something fitting for the holiday as well as fitting for a little boy is not quite as easy.  
Well Small Fry & Co. has got you covered.  Here are 4 unique applique ideas perfect for a little boy just in time for Valentines Day.  Links to all the patterns are at the end. (NOTE: The finished product will be opposite of the pattern unless you trace the pattern backwards-which you have to do for any words you will applique on).  Happy Sewing.

There is the "Kind of Hearts" (the wording is written on with Sharpie)

The "Love Machine" (words are again written with  Sharpie)

"Be Mine" (you do get it don't you???) 

"Love is a Battlefield" ( Love is appliqued and the other words are written on with Sharpie)

If you need a tutorial on how to do applique you can go here to my post from a few years ago on how to do a basic onesie applique.
Love Machine

Be MIne Love is a Battlefield King of Hearts

Also shared here:

Tip Junkie


Catch a Glimpse Button

Pin It!
Print Friendly and PDF
Related Posts Plugin for WordPress, Blogger...