When I was in college I had to take a parenting class in which we had to write a paper outlining our goals for our future family. Let me tell you that reading that paper now that I have kids is pretty hillarious. I was so clueless about what a real mom did. Most of the goals I set were completely unrealistic. One that I did write down, which I have actually had for a long time was under my "finacial" category. Under that category I said that I would live frugally, and could even make pajama pants out of bed sheets if necessary. I think I have been pretty good at living frugally and I finally crossed off the "making pj's out of bed sheets" goal. Think about it-what is more comfortable than a worn in sheet that keeps you cool in the summer and warm in the winter. Not all sheets are created equal but when you find a good one that feels soft and smooth and cool and comfortable you are doomed to want to just hang out in bed all day. Well why not just take the sheet with you? I didn't make these pants because we are too poor to afford regular pajama pants but because I was shopping at our thrift store and happened to find one of those "perfect" sheets that was soft, and smooth and cool feeling and I loved the pattern. I knew exactly what I had to do with it: pj's for my girls.

These are pretty much as easy as you can get. You will need 1 bed sheet (size doesn't matter if you are making kid pants but it might if you are making adult pants) and a pair of pants to use as a pattern (ones that currently fit the same way you want the bed sheet pj's to fit). You will also need 3/4" elastic and small piece of ribbon.
Start by placing one pant leg inside the other on the pair of pj's you are using as a pattern.
Fold over your fabric so that it will be slightly wider than the pj pants and then double it over (so 4 layers total) so that you can cut both pieces out at one time.
Put your pajama pants on the sheet (you should have 2-3 inches at least around the pants).
Pin your pj pants down.
Now cut around the pants. You will want to leave extra room at the top and the bottom to allow for hems (remember that you can always make pants shorter but it is pretty tricky to make them longer). The pants I used as the pattern were getting short on Small Fry so I left extra at the bottom. They were also a bit tight so I cut my pieces about 1 inch bigger all the way around. If the pants you are using for a pattern fit well then you only need to leave about a 1/2 inch around the "pattern" to allow for the seams.
Now open up your fabric and pin the pieces together (right sides together). If you cut them the way I showed in the above picture then the first 2 pieces will form one leg and the second set of pieces will form the other leg.
Stitch the shorter of the two sides seams together-the one on the side with the curved part.
Open each leg piece and place on top of the other-right sides together, matching all the seams and pin along the curve.
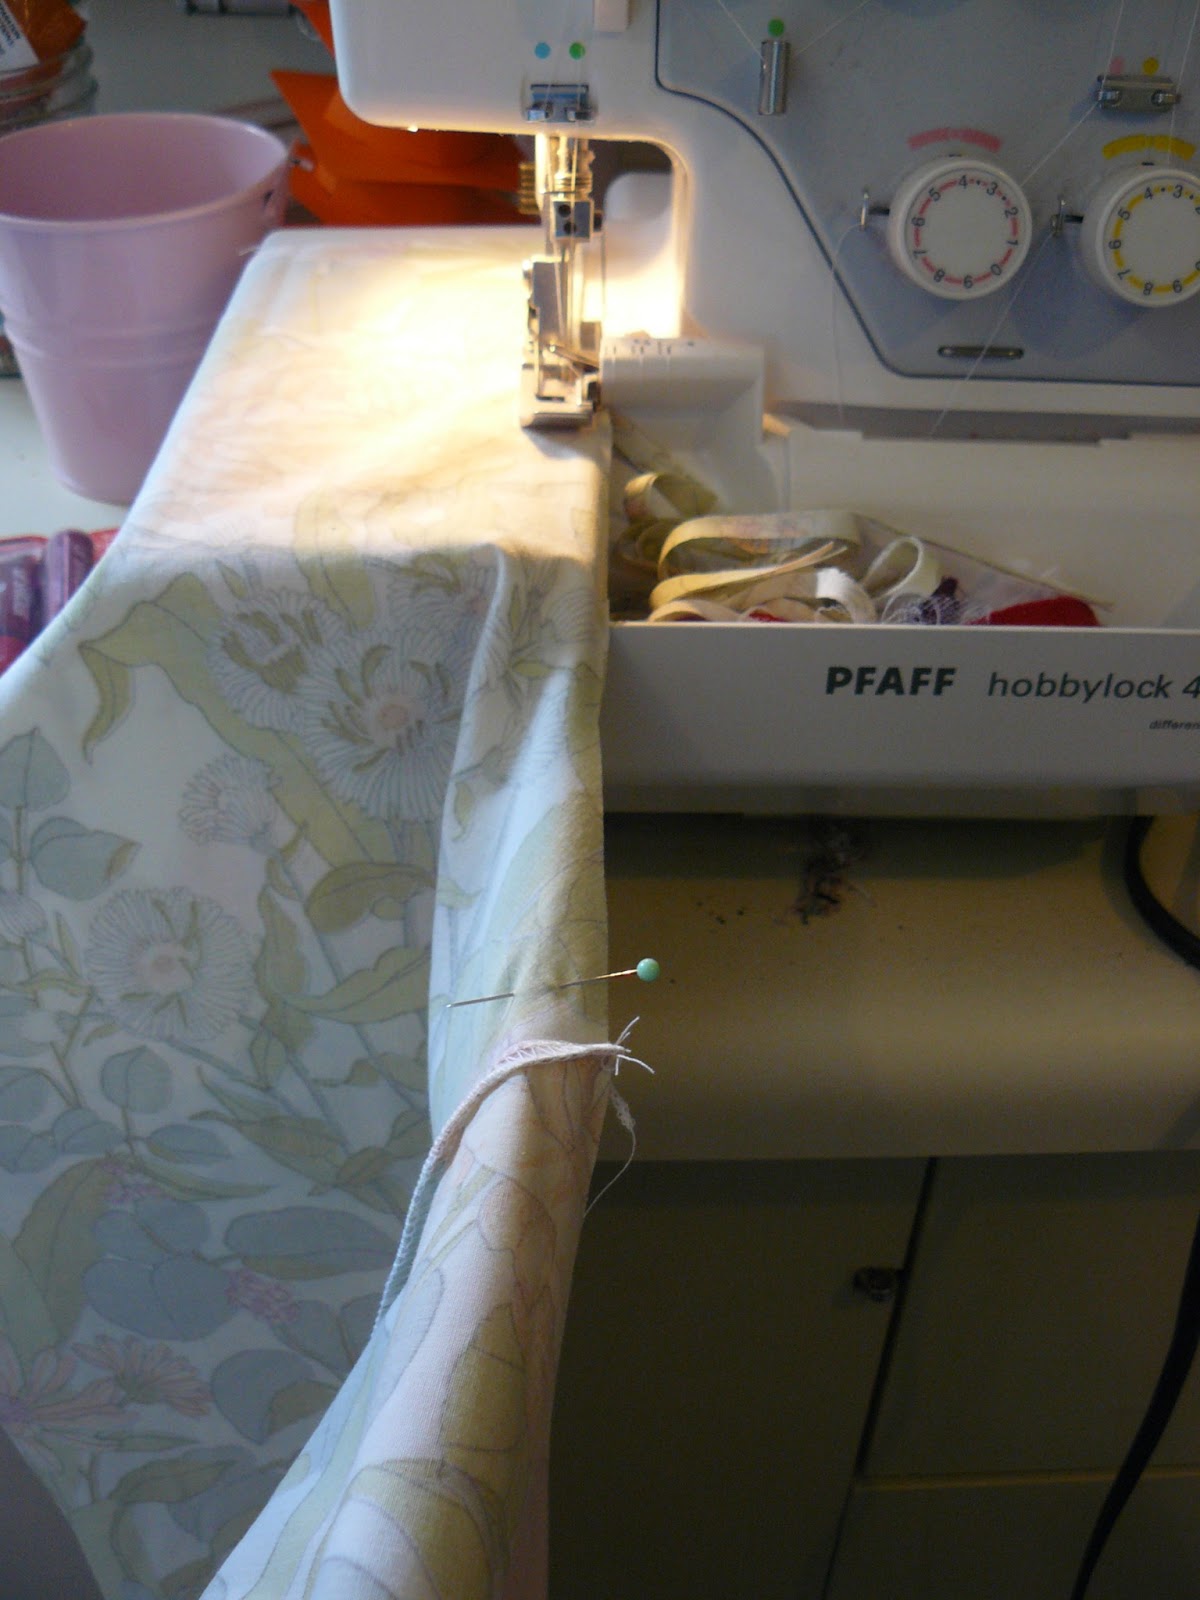
Stitch the section that you just pinned. It works best if you kind of lengthen out the seam by holding it as straight as you can like this:
Here is what you should have so far (and you are probably going to look at these and go "Oh geez, I totally just messed up" but you didn't...I promise).
Okay next you need to open these and lay them with one large piece on top of the other (and they should look like pants). The seam that you just sewed (the curved part) is the crotch seam (don't worry, it's acceptable to say crotch when you are talking about sewing stuff). I opened one section flat:
Then I opened the other piece and flipped it to be on top (right sides together) of the other piece. I will be honest and say it is kinda tricky (even looking back at these pictures I am not sure I really captured how to do it).
In the end it should look like this (so just mess around with them until they do):
Before you sew the side seams it is easier to hem the bottoms at this step while they are open and flat.
I serged first but that is not necessary. You can turn the hem twice and get the same effect. I turned mine up a 1/4" and then up 3/4".
Stitch along the top of the hem. Then sew the side seams top to bottom.
Lastly you will make the waste band. I used the pair of pants I used as my pattern to determine how big to make the hem for the waste (you could of course try it on your little model-mine was not home).
The same principle applies here as the leg hems-turn twice and sew once only this time leave an opening to insert the elastic (so don't sew all the same around...I leave a 1 inch opening). The best place to leave it is in the back of the pants. To determine which side is the back lay the pants flat and straighten out the crotch seam-one of the waste pieces should be longer than the other-they should not match up perfectly. The higher of the two is the back (cause it has to cover a little bum that sticks out).
Here is my 1 inch opening.
Measure a piece of elastic that fits around the waste comfortably without being stretched. Place a pin in one end and thread through the hem opening and around the pants waste band.
Pin the ends of the elastic together and stitch (make sure the elastic is not twisted any where in the waste band). Now before you stitch the opening closed, make a little tag out of a folded piece of ribbon. Tuck that in the opening and then stitch it closed.
And there you have it-super comfy and soft, comfortable pj bottoms; as comfortable as your favorite sheet.