Showing posts with label Fall. Show all posts

Oct 5, 2011

Mummy Bags, Candy Cans, Fall Wreaths-Oh My

If you are like me you can never get enough ideas for Halloween/Fall.  It is my all time favorite season.  Wish it lasted for at least 6 months but it seems to go so fast.  I am trying to pack in the projects; How about you?  Here are a few more ideas:
Mummy Bags


Pin It!
Print Friendly and PDF

Oct 4, 2011

Fall Paper Bag Banner

In case you didn't get a chance to see this project (it was a guest post a few weeks back) I thought I would repost it.  It is quick and easy and perfect for the season.

To begin you will need to print the pattern from here and cut and trace all the pieces onto the cardstock that you want to use.  You will also want to cut out your background pieces.  I used a large paper bag from the grocery store but you could use cardstock or even cardboard.  My pieces are about 5x7" but they are not all the same size.  I did that on purpose because in my mind fall is rustic and rustic is not perfect (but that is just me).  I also cut pieces of burlap slightly smaller than my background pieces. 
 Next spary the burlap with a spray adhesive (which if you haven't used-you must.  It is one of my favorite crafting accessories).  Stick your burlap onto the background piece.  Lightly brush the edges of each piece with a distressing ink or a antiquing stamp pad.
 Repeat with your image.  I drew tick marks with a black pen all the way around the edge of each of my images.  I think it makes them stand out a bit more.
 Repeat with all of your pieces.

 Next to attach the ribbon hanger I placed my ribbon where I wanted it on the banner piece, then stuck a large needle through the ribbon and background paper.  I put a brad in each hole.  (On each end make sure a make a loop to hang the banner with).

 And that is it.  Super easy, cute and festive. 


fall
Pin It!
Print Friendly and PDF

Sep 28, 2011

White Sweater Pumpkins and a New Idea

In case you weren't around last year I wanted to share my tutorial to make these fabulous white pumpkins.  I have been making some the last couple of days because 7 wasn't enough for my living room and I had some sweater pieces left over from last year.  I started making some mini ones and was stacking them on top of eachother when this happened:
Are you thinking what I am thinking?  Now all of a sudden it is beginning to feel a lot like Christmas and I am dying to get my hands on more of these bulky sweaters so I can finish up my pumpkins and work on some plump Christmas creations.  More to come.
Pin It!
Print Friendly and PDF

Oct 2, 2010

White Sweater Pumpkins Tutorial

I first saw the idea for these on Craftaholics Anonymous. I have already confessed my pumpkin addiction but can I just say how giddy white pumpkins make me. Aren't they just glorious. These sweater pumpkins are the next best thing. Don't you just love the textures? (Wouldn't these fabulous with an orange sweater!! I mean an orange sweater would be totally tacky to wear but cut up into one of these-PERFECTION.)
Here is a tutorial for both a sewn version and a no-sew (well okay there are a couple of stitches but you can do it I promise) version.
Sewn Version
1. Start by laying out your sweater and deciding where to cut. I use the sides of the sweater as my side seams so all you have to decide is the height. Experiment with different sizes because each one will make a different shaped pumpkin. The higher up on the sweater you cut the taller your pumpkin. Well just play around with it-you really can't go wrong. I chose to cut right below the arm pits. No need for measuring or straight lines. It should look like this. This is cut through both the front and the back of the sweater.
2. Next using embroidery floss (all 6 strands-because the sweater material is thick and heavy and you want something durable to sew it with) and
a big honkin fat needle, thread a long piece of floss with a knot tied in one end.
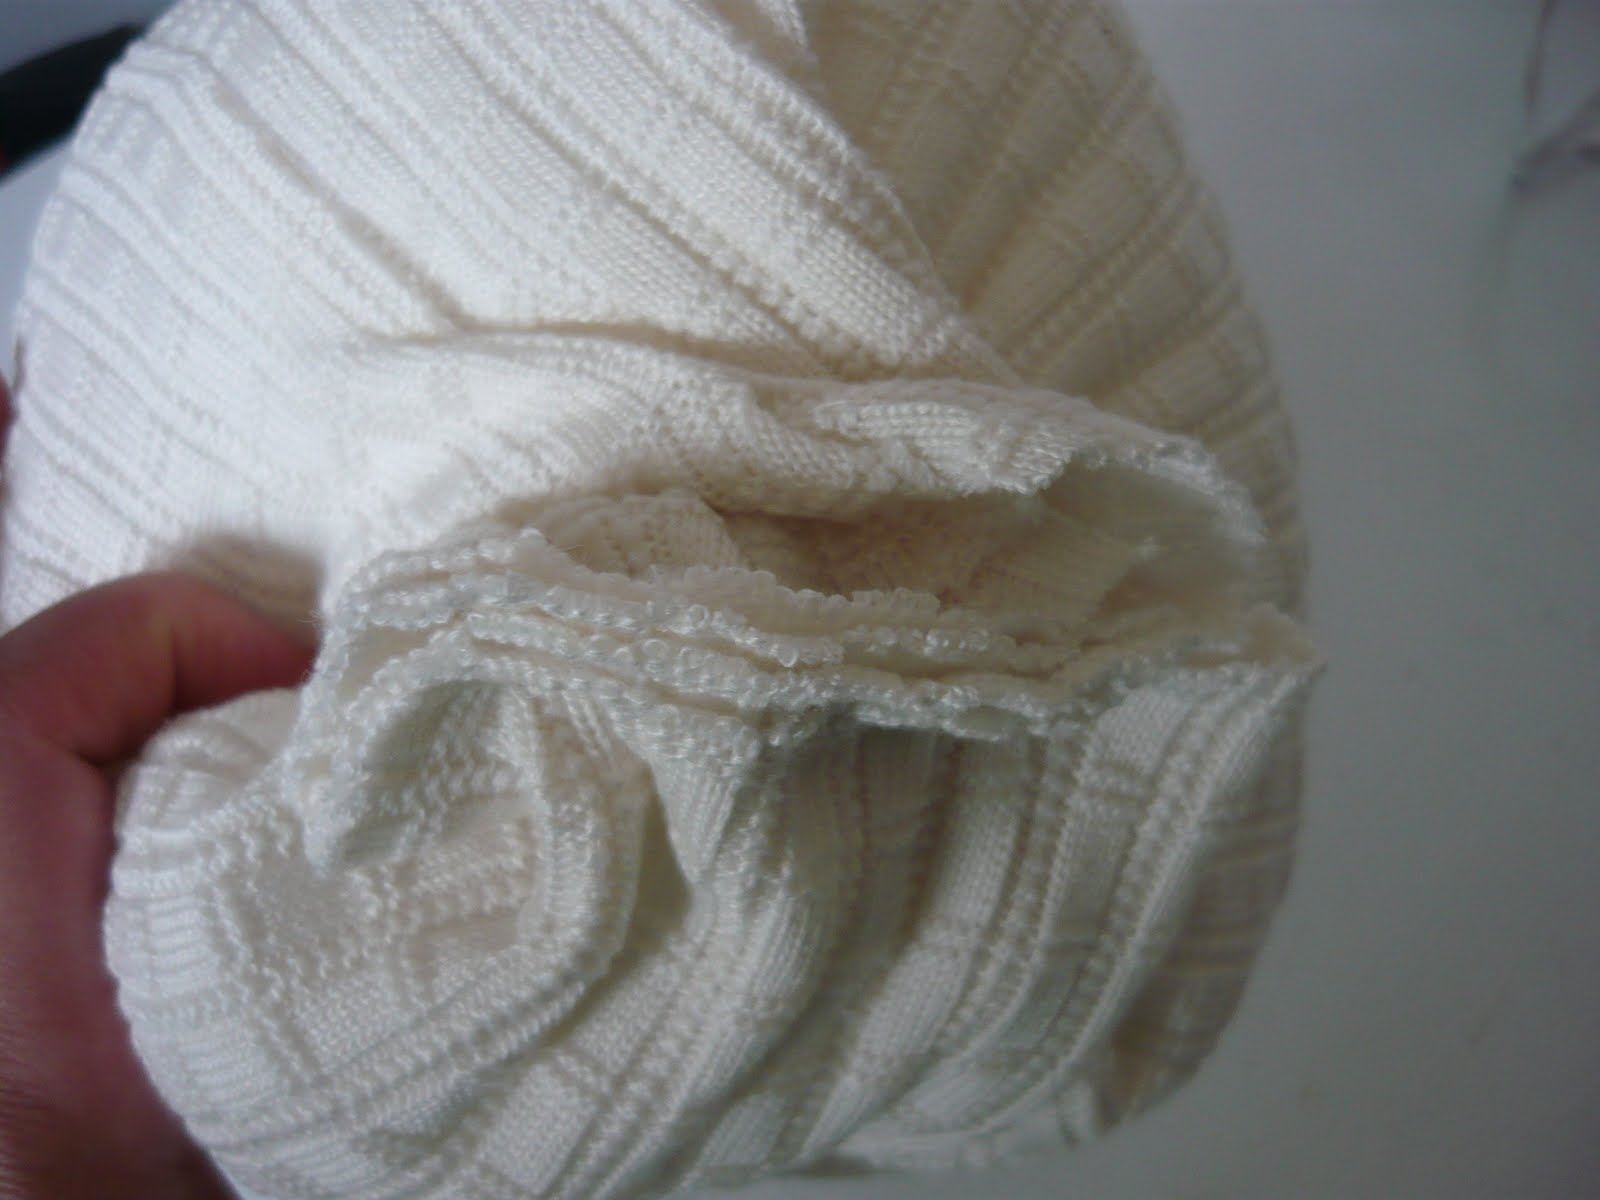
3. Turn your sweater piece wrong side out and starting with the knot on the wrong side sew a running stitch all around the bottom edge of the sweater.
4. Pull on your thread to gather the bottom edge as tight as possible but don't break your threads.
5. Now using the same needle and thread stitch back and forth to sew the opening closed.
6. Turn this piece right side out and stuff. It looks big and huge and awkward at this point but don't fear.
7. Now sew another running stitch around the top edge, pull the thread to gather it tight and sew back and forth just like you did on the bottom.
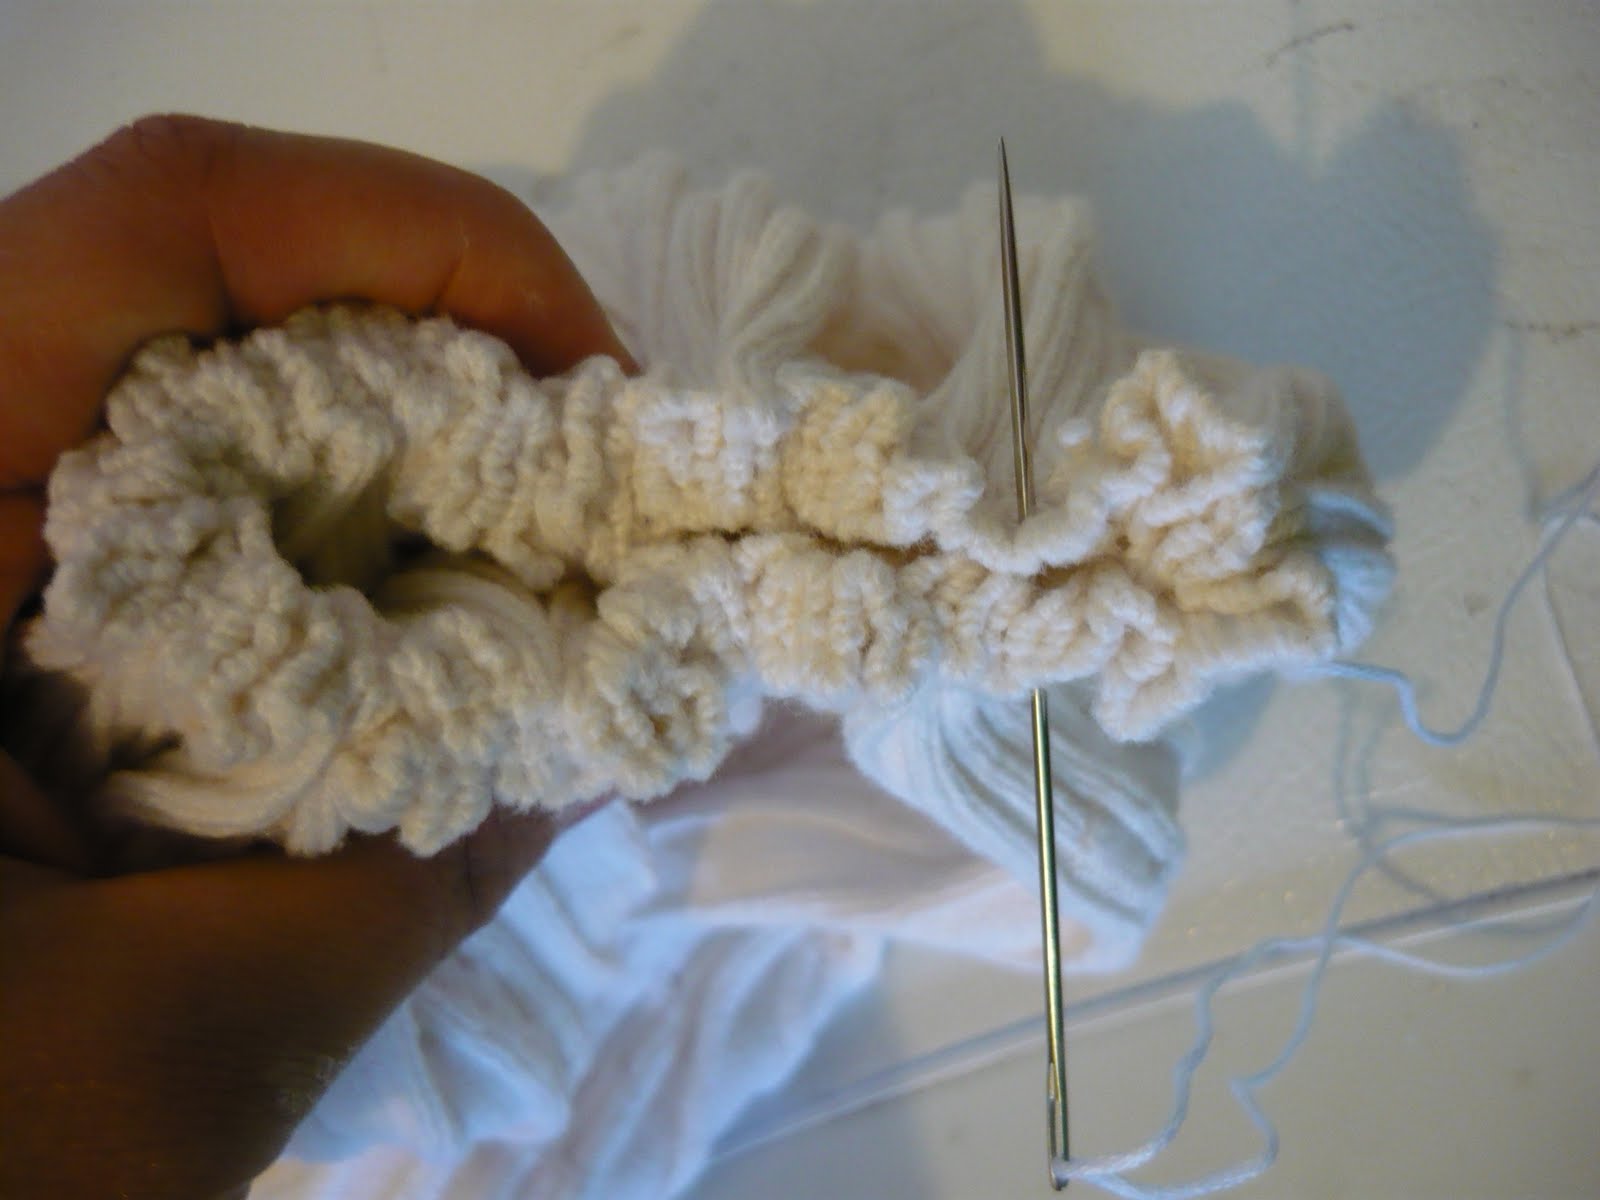
8. Working with a new (LONG) thread, knotted at one end, start from the underneath side of the pumpkin and poke the needle up through the bottom being sure to hold onto the end while you squish the pumpkin and pull it out through the top.
Like this.
Take a stitch across the top gather and back down through to the bottom pulling tightly to create an indent in the top.
Like this. Repeat this about 4 or 5 times, taking your top stitch across at different places to help tuck in that top seam.
9. For the stem I cut a dead tree branch from the neighbors dead tree in the back alley. Cut it in pieces. Hot glue this to the center of the pumpkin.
10. For leaves I crudely cut out a leaf like shape with a piece of quilt batting sandwiched in between. You could make a leaf pattern using a picture from the Internet as well. I stitched them on my sewing machine to hold them together. If this step seems daunting then I would go to the craft store and find some fake fall foliage and buy up something that looks like a pumpkin leaf.
Glue these in place. They help hide parts of the seam that may be sticking up.
And there you have it.
No Sew Version
1. For the no sew version I cut a piece from a sweater but only from one side. I wanted to make a smaller pumpkin so I am only using a piece of the sweater rather than from seam to seam because that was bigger than I wanted. The size once again does not matter so feel free to play around with shapes.
2. With the right side up run a bead of hot glue down the length of one side and half the bottom. Fold the square piece over to form a rectangle like this. Press to make sure the glue holds.
3. Now turn it right side out. (this is showing you the bottom)
4. Stick one hand in the piece and run a bead of glue along the bottom with the other.
Now fold in half matching the bottom points and hold until glue sets. This forms the bottom of your pumpkin.
5. Stuff as full as you would like and then run another bead of hot glue along the inside of the top opening and press to close.
6. Run a bead of glue along the outside of the the top now and fold it in half also (like you did with the bottom)
7. Now for the tiny bit of sewing. As with the other pumpkin, you will want to use a long piece of embroidery floss and a honkin big needle. Thread the needle and knot the end of your thread. Start at the bottom and stick your needle in and squish your pumpkin allowing your to pull your needle out the top. Because you glued this together you will want to be careful where you stick your needle.
8. Take a stitch across the top and then back down through the pumpkin and out the bottom pulling tight.
That will form an indent like so.
9. Attach your stem and leaves and a raffia bow if you would like and you are done.
Mix and match with some orange ones and you are set for fall (and these will last as long as you want) I would love to keep mine up all year (if they survive Small Fry using them to bonk her sisters head).
Enjoy!!
Pin It!
Print Friendly and PDF

Sep 24, 2009

Fall Wreath Tutorial


Here is the long overdue fall wreath tutorial I showed you a sneak peak of a while back.

I started with a wreath I bought at the thrift store (I have spared you a look at the tacky decorations that were on it when I got it.)
For the leaves I fused two pieces of fabric together with Heat N Bond in the middle. I took all these fabric pieces to the elementary school and used their die cuts to cut out the leaves. You could do this same thing at a lot of craft stores (which have die cuts available to use) or you could free hand them all. I wanted some of the leaves to curl when placed on the wreath so I brushed a coat of Modge Podge on the front side of some of them and laid them in between some glasses to dry so that the edges would curl. Here is a picture of some with and without the glue.

I then glued the leaves all over my wreath base. Gotta love the smell of your hot glue gun at work.
Next to make the pumpkins. These are super easy and you don't even have to worry about perfection because they look more rustic when you don't. To make a pumpkin cut out a rectangle piece of fabric, any size will do. I think these were about 8x9 or so. I wanted small pumpkins so I kept my rectangle small. If you want taller pumpkins start with a rectangle that is tall and skinny.
Sew the sides seams together with the right sides of the fabric together. I think mine were about 1/4 inch seams. Again, it doesn't matter.
Will look like this when done.
Using a needle and thread do a running stitch around the bottom edge of the rectangle while you still have the wrong sides out.
Gather this up tight.
You could just do a few hand stitches to anchor it or put the whole thing under the presser foot of your sewing machine and sew over it like this.
Now turn this piece right side out. This is a look at the bottom of the pumpkin now.
Stuff this but not too full. I didn't want my pumpkins really firm.
Once again, using a needle and thread do a running stitch all around the top of the fabric and pull it tight. This time do a few stitches back and forth from one side to the other to hold it together.
Like this.
Now push your needle down through the center and out the bottom of the pumpkin like this and pull tight. Then go the opposite direction and once more down through the bottom. At the bottom tie off your thread. This will create an indent in the center of your pumpkin.
Like this.
For the stem I went down our back alley to find someone with a dead tree and cut off one of the branches. I then cut off small pieces for the stems.
Hot glue the stem in the center of the indent.
Lastly you need vine curly cues. For these I cut a piece of wire (the length really depends on how much curly cue you want).
I covered the wire using floral tape and the one skill I remember from my college floral arranging class.
To cover the wire wrap the floral tape around the top of the wire and start pulling the tape downward while twisting the wire. Stretching the tape makes it sticky and it will stick to itself. You want to wrap tightly. Pull and tear when you reach the bottom.
Wrap your wire around a pencil like this to make it curly.
Hot glue these in place around the stem. You could make leaves too if you want. I didn't want to for these.
I then glued these to my wreath too. Not too many, you don't want it to look tacky.
Hang with a ribbon, and there you have it. I couldn't wait any longer to put it up. I have a ton of these fabric pumpkins in various sizes for my house decorations and I think I will be getting those out next week. Can't wait until October.
Happy Fall!! Happy wreathing.
Pin It!
Print Friendly and PDF
Related Posts Plugin for WordPress, Blogger...