

Here is a tutorial for both a sewn version and a no-sew (well okay there are a couple of stitches but you can do it I promise) version.
Sewn Version
1. Start by laying out your sweater and deciding where to cut. I use the sides of the sweater as my side seams so all you have to decide is the height. Experiment with different sizes because each one will make a different shaped pumpkin. The higher up on the sweater you cut the taller your pumpkin. Well just play around with it-you really can't go wrong. I chose to cut right below the arm pits. No need for measuring or straight lines.  It should look like this. This is cut through both the front and the back of the sweater.
 It should look like this. This is cut through both the front and the back of the sweater.
 2. Next using embroidery floss (all 6 strands-because the sweater material is thick and heavy and you want something durable to sew it with) and
 a big honkin fat needle, thread a long piece of floss with a knot tied in one end.
 3. Turn your sweater piece wrong side out and starting with the knot on the wrong side sew a running stitch all around the bottom edge of the sweater.
 4. Pull on your thread to gather the bottom edge as tight as possible but don't break your threads.
  5. Now using the same needle and thread stitch back and forth to sew the opening closed.
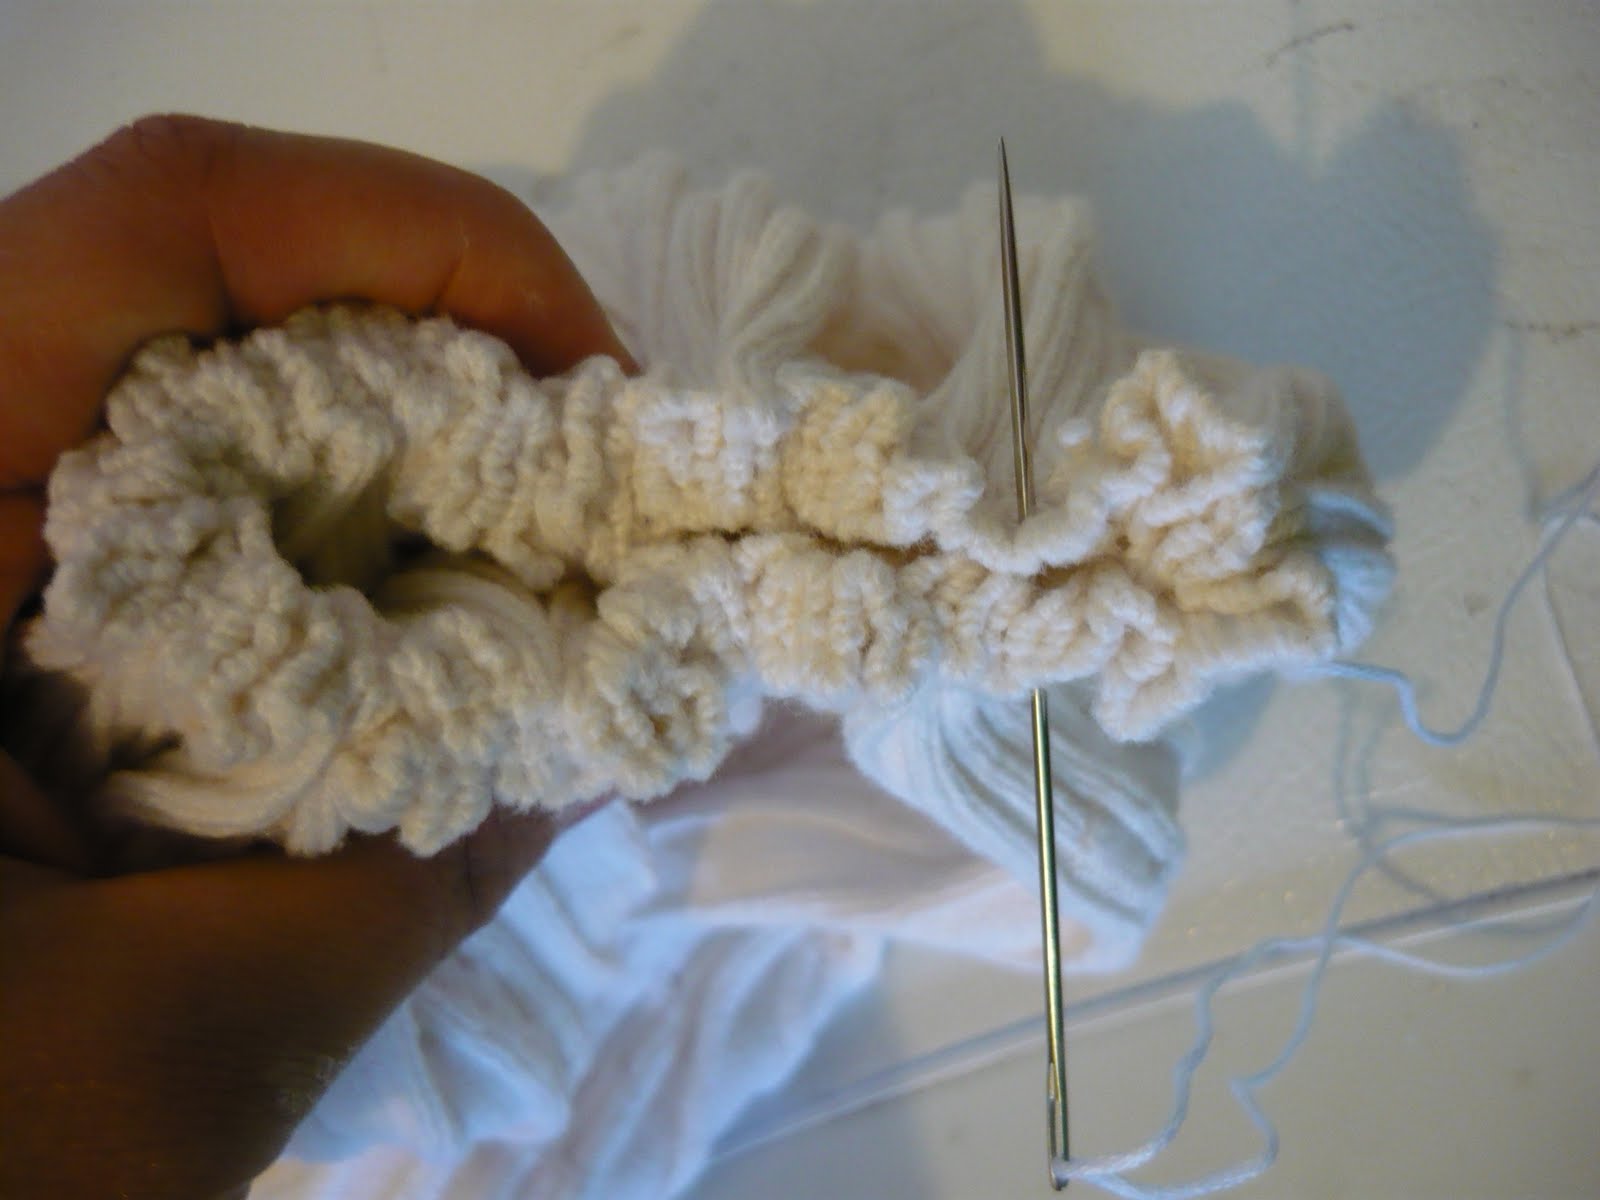 6. Turn this piece right side out and stuff. It looks big and huge and awkward at this point but don't fear.
 7. Now sew another running stitch around the top edge, pull the thread to gather it tight and sew back and forth just like you did on the bottom.
 8. Working with a new (LONG) thread, knotted at one end, start from the underneath side of the pumpkin and poke the needle up through the bottom being sure to hold onto the end while you squish the pumpkin and pull it out through the top.
 Like this.
 Take a stitch across the top gather and back down through to the bottom pulling tightly to create an indent in the top.
 Like this. Repeat this about 4 or 5 times, taking your top stitch across at different places to help tuck in that top seam.
 9. For the stem I cut a dead tree branch from the neighbors dead tree in the back alley. Cut it in pieces. Hot glue this to the center of the pumpkin.
 10. For leaves I crudely cut out a leaf like shape with a piece of quilt batting sandwiched in between. You could make a leaf pattern using a picture from the Internet as well. I stitched them on my sewing machine to hold them together. If this step seems daunting then I would go to the craft store and find some fake fall foliage and buy up something that looks like a pumpkin leaf.
 Glue these in place. They help hide parts of the seam that may be sticking up.
 And there you have it.
  No Sew Version
1. For the no sew version I cut a piece from a sweater but only from one side. I wanted to make a smaller pumpkin so I am only using a piece of the sweater rather than from seam to seam because that was bigger than I wanted. The size once again does not matter so feel free to play around with shapes.
 2. With the right side up run a bead of hot glue down the length of one side and half the bottom. Fold the square piece over to form a rectangle like this. Press to make sure the glue holds.
 3. Now turn it right side out. (this is showing you the bottom)
 4. Stick one hand in the piece and run a bead of glue along the bottom with the other.
 Now fold in half matching the bottom points and hold until glue sets. This forms the bottom of your pumpkin.
 5. Stuff as full as you would like and then run another bead of hot glue along the inside of the top opening and press to close.
 6. Run a bead of glue along the outside of the the top now and fold it in half also (like you did with the bottom)
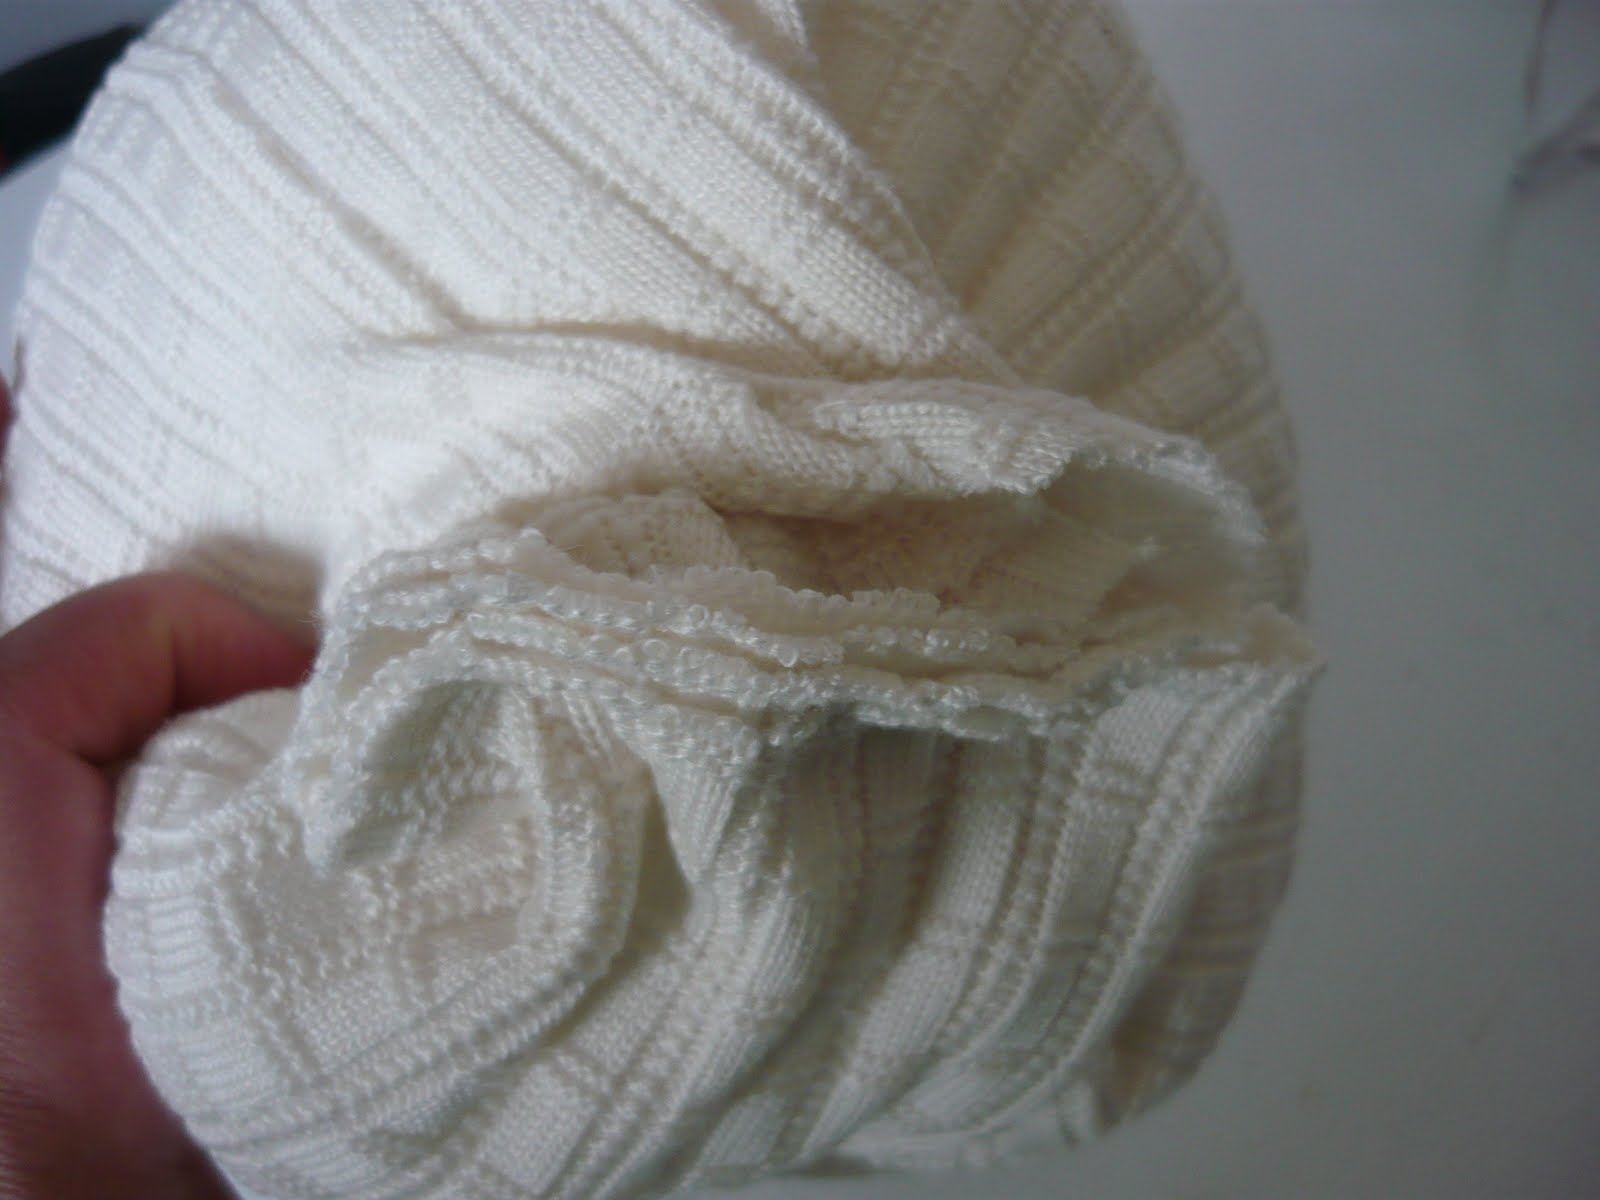 7. Now for the tiny bit of sewing. As with the other pumpkin, you will want to use a long piece of embroidery floss and a honkin big needle. Thread the needle and knot the end of your thread. Start at the bottom and stick your needle in and squish your pumpkin allowing your to pull your needle out the top. Because you glued this together you will want to be careful where you stick your needle.
 8. Take a stitch across the top and then back down through the pumpkin and out the bottom pulling tight.
 That will form an indent like so.
 9. Attach your stem and leaves and a raffia bow if you would like and you are done.
 Mix and match with some orange ones and you are set for fall (and these will last as long as you want) I would love to keep mine up all year (if they survive Small Fry using them to bonk her sisters head).
 Enjoy!!


love these!
ReplyDeleteThose are pretty cool! How'd you come up with that?
ReplyDeleteThank you for sharing this, I really love white pumpkins!
ReplyDeleteLindas essas abóboras, muito interessante!!! Gosto muito de novidades, amei o seu Blog. Estou a te seguir. Beijo. Debora.
ReplyDeleteThis is such a neat idea. Love them. I agree...nothing better than white pumpkins. I just made a batch of small pumpkins for a wreath and I used scraps of orange fabrics. I wish I would have seen this before!
ReplyDeleteWOW! I don't sew, so a few years ago I came up with an idea to make pumpkins from recycled sweaters... I call them my original 'Sweet Sweater Pumpkins' and you can see a tutorial here: http://hummadeedledee.blogspot.com/2008/09/pumpkin-inspiration-tutorial.html
ReplyDeleteNo sew - just rubber bands, twine, stuffing, and recycled sweaters! ;0)
These are absolutely adorable. Love the idea of the white pumpkins.
ReplyDeleteWonderful tutorial. I am heading out to DI today to look for white sweaters.
ReplyDeleteI live in Utah also. (St. George)
Heather-
ReplyDeleteThese are fantastic. You seriously astonish me. I shouldn't be astonished anymore, but I always still am. You're the best!
P.S The anonymous precviously is me, Brittany R. I don't know how to sign in right now. Haha!
ReplyDeleteSuch a good idea!! I have so many sweaters I could use for this. :) Thanks for sharing. I'll be featuring it on my blog this month. little-inspirations.blogspot.com.
ReplyDeleteI used to have an orange sweater when I was a kid! Too bad I didn't save it hahah. I think they look really cool in white though; it's unexpected! Thanks so much for posting this in our blog hop. I hope to see you back next month :)
ReplyDeleteDarling pumpkins and a wonderful tutorial.
ReplyDeleteThese pumpkins are so classy.
And the baby in your header is adorable!!
Have a great weekend, so glad I hopped over!
This is really cute. I like the white too! Thanks for blog hopping!
ReplyDeleteWonderful! What a great idea for the sweaters are not used anymore! I also want to try! Claudia (Italy)
ReplyDeleteHow cool are these?! Such a fabulous idea.
ReplyDeleteVERY cute! I think I need to head to Goodwill and pick up a few old sweaters!
ReplyDeletethese are amazing! you could also easily use the sleeves for smaller pumpkins....more bang for your buck so to speak. i love re-purposing things. i just got lots of wool suits and skirts from the thrift store. just got them all deconstructed and have them in the washer as i type turning them into wool felt for crafting....i see some pumpkin leaves in the green's future LOL
ReplyDeletemy compliments for the really fantastic idea and I hope to find time because I'd like to create one too!
ReplyDeleteVery cute! May I suggest using dental floss instead of embroidery floss when sewing? Super strong, and far less expensive! Susan
ReplyDeleteI love love love this! I had to say it 3 times because it is so neat. I love fall and all the decorations that go with it. Thank Rose and Heather
ReplyDeletehttp://sewstylishboutique.blogspot.com/
Love this - found it on Pinterest. Can't wait to try it. Such a clever idea. Thanks so much for sharing!
ReplyDeleteThank you for the very nice instructions. These are so, so cute!
ReplyDeleteI realize this is an older post, but I just found the link via another blogger and wanted to thank you for sharing such a fun project and great tutorial. I am now following your blog and following on Pinterest. Your blog looks like a lot of fun!
ReplyDeleteCAS
I mean an orange sweater would be totally tacky to wear but cut up into one of ... awhitesweater.blogspot.com
ReplyDelete