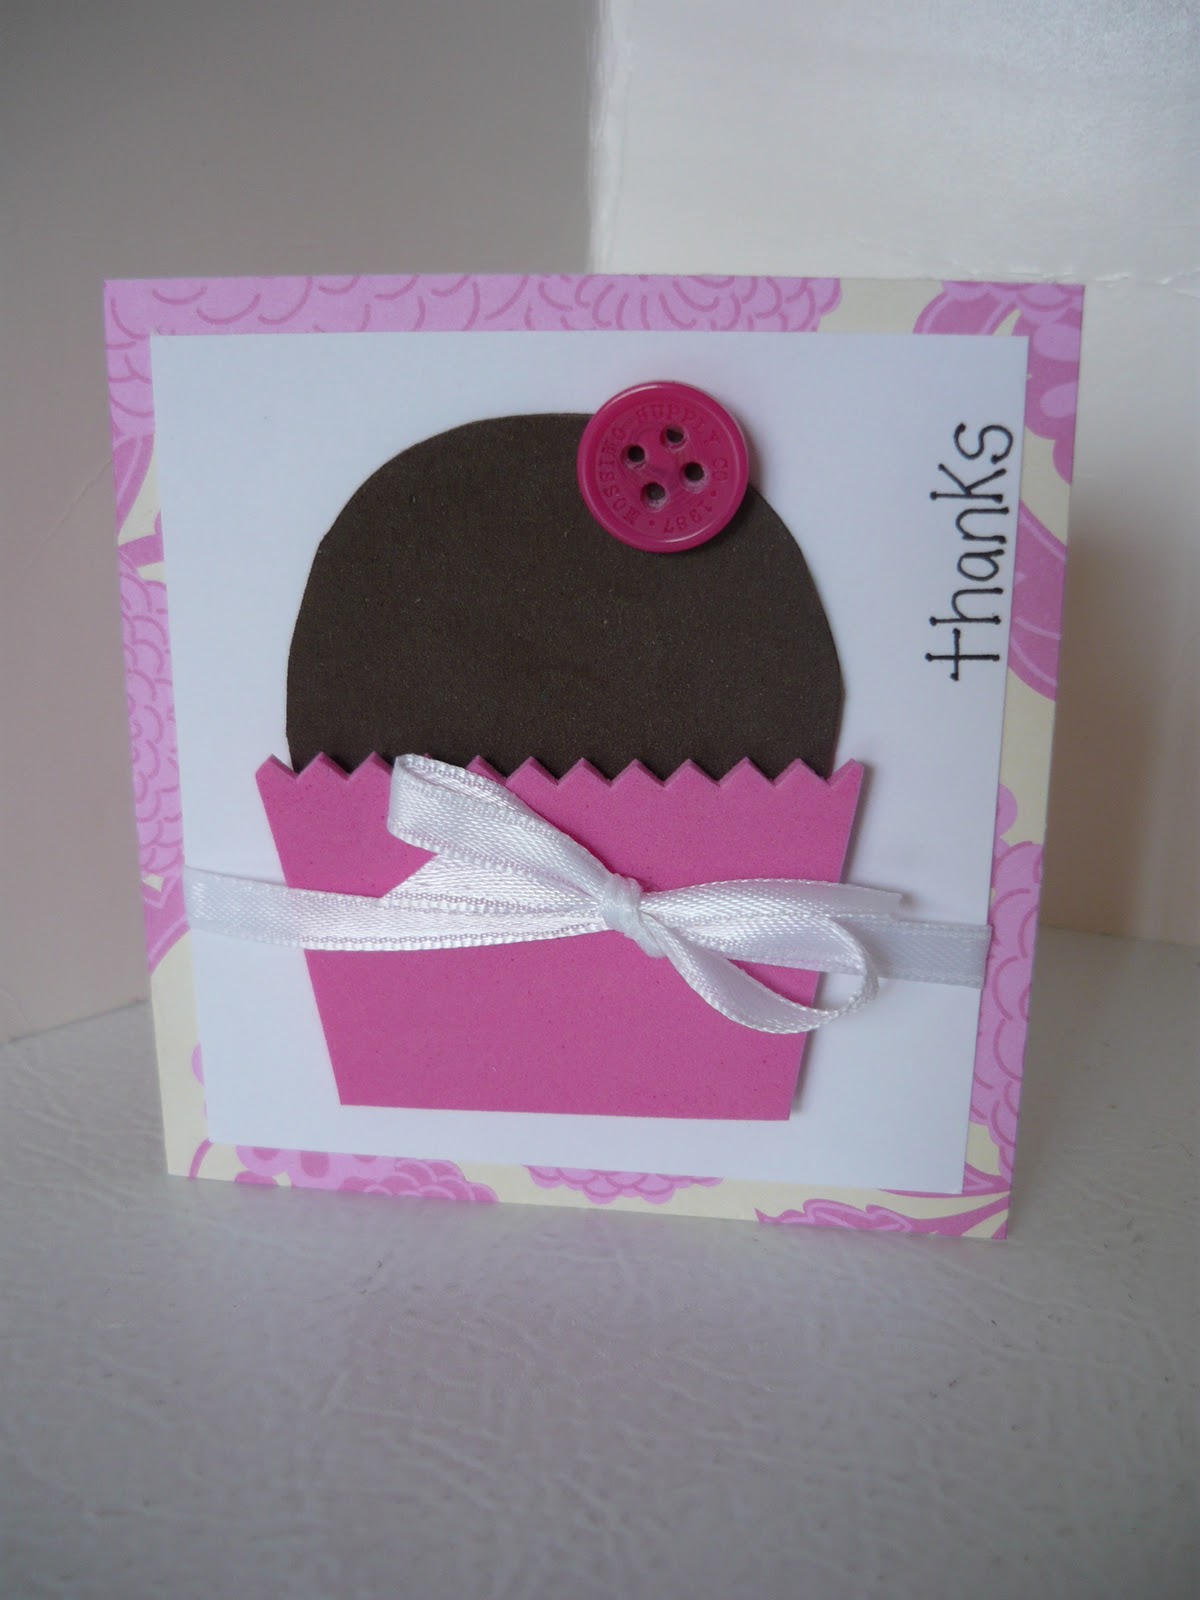
Those of you who are pro's at Photoshop will laugh at this meager attempt at computer designed Thank-you cards but perhaps there is someone out there like me: slightly computer challenged but interested just the same, who might benefit from this.
Everything seems to be about saving time in my life. One thing that I am finding that really saves me time and is really getting more and more enjoyable is the digital world. There are so many cute digital scrapbook kits and papers out there and it is really fun to try and create with them. I am also newly in love with Picasa. If you have never tried it, it is like Photoshop for Dummies. So I thought, "why not create a Thank-You card using Picasa."
Here is a tutorial to make this card:
Okay so what I did:
1. I took a profile picture of Small Fry (this was taken almost a year ago-but better late than never right).
2. I shrunk it down and printed it off on regular paper in fast draft. Then I traced around her head with a permanent marker to define what I wanted as her profile. I then cut that out. I traced that onto black paper and cut it again. I scanned this into my computer and saved it as a jpg.

3. I downloaded the scrapbook kit I wanted. Then when you open up Picasa it will automatically upload any new pictures that you have recently added to your computer (so it automatically uploads the scrapbook paper and the scanned picture for me). NOTE: you can not use cutesy extras like buttons, ribbon, clipart in Picasa-just the paper in a digital scrapbook kit so save yourself the wasted time trying to upload them). Once uploaded I go to the "library" in Picasa and find my scrapbook papers first. Click on the ones you want to use (if you hold the ctrl key while clicking you can choose more than one). These will appear in your holding tray. Find the profile scan too and click on that to add it to the tray. Once you have selected everything you want hit the "collage" button.

4. You will see all your selections on a plain background. Select the one you want to use as the back ground (by clicking on it) and click the "Set as Background" button. Now, to allow you to layer your other selections in the order you want, click on each one and then on "remove" to put it into the clips organizer on the side.
5. Click on the selection you want to use first from the left hand side and drag it to the collage. Resize as desired.
6. Continue adding selections.
7. After you have everything you want as far as images goes on your collage click the "settings" button on the left hand side.
8. Choose the finished size you desire. I wanted these to be a postcard size so I selected 3x5". Then hit the "create collage" button on the bottom of the left hand side.
9. You will be brought to the "edit" page. This is where you can change the color of the whole thing or add words. NOTE: if you want to edit an individual piece then do this before you make all your selections in your holding tray and create your collage back in step 2. Once you are here you will want to add your sentiment. To do this choose "text" under the Basic Fixes tab. Scroll through your text options to choose one you like and type your sentiment. Move it and change it's size as desired. When you have your words where you want them and how you like them choose "apply."

10. It is time to print now so you will want to make sure you have no other selections in your holding tray except this card. Click the "print" button on the bottom. It will take you to a page that looks like this. On the left hand side you can choose what size you want your collage to print as and at the bottom of the left hand side you can choose how many copies per page you want. I did 4 so that I wouldn't waste paper. If something doesn't look right then hit the "cancel" button to return to the edit page. If it looks how you want it then select print and away you go. You can print these on photo paper for the best look or on cardstock.
And there you have it. Pretty easy!!!
Here are a few others I made:
Happy Digital Crafting!!