Showing posts with label Valentines Day. Show all posts

Feb 5, 2014

"What Does the Fox Say" Valentine Card and Other Forest Friends

Are your kids as obsessed with the song "What does the Fox Say" as mine are?  They just had to listen to it on You Tube one night, so we found it and I was sure there had to be something disgusting and distasteful about the whole thing because otherwise it just doesn't make any sense at all.  But it wasn't at all.  It was just.....well....dumb I guess.  But kids absolutely love it.  So when I was thinking about what to make my kids for Valentines day I was searching for ideas online and happened to see a super cut fox craft and that inspired my idea for this card:


I am going to fill the card with stickers (since my kids love to put stickers on EVERYTHING).  It is just silly, they will love it because we sing the song all the time at our house and change the words and the sounds.  I don't actually know any of the words or sounds but as long as you know the tune you can pretty much fake it til you make it.  I think any kid will get a major kick out of it.  I found the pattern for the fox here. I resized it in my word program and then cut out the pieces and traced them on paper.  I chalked the edges to give it extra dimension.  I stuck it on the card with foam dots to make it raised.  After making the fox my mind started racing thinking how cute it would be to have a whole set of little forest creatures to surprise my kids with on Valentines morning.  So I adapted the pattern, changed some of it and added new pieces and created this super cute forest friends set:
 
 
Meet Raccoon. 
 
 And skunk.
 
And you already know Mr. Fox
 
I am not sure exactly how I am going to use them all yet but I just had to share them with everyone.  They are really easy to make and so adorable.  They would be cute for any time of year, not just Valentines day.  If you would like patterns for the Raccoon and Skunk you can find links below. 


Pin It!
Print Friendly and PDF

Feb 11, 2013

Doily Heart Banner


In my latest package from Wholeport  were two bags of small heart doilies.  I knew I needed to use them some how before Valentines Day but with time running out what could I make?  I think what I came up with is beautiful, simple and sweet and not necessarily a Valentines only project.  This would be cute for a baby shower or wedding too.  It is a heart doily and fabric flag banner.

I strung the doilies onto a piece of twine and then added small fabric flags in between.  The flags are attached with a few simple stitches at the top-sewn with my sewing machine, right to the twine (glue would work too). The whole project took about 25 minutes (with cutting the fabric flags taking the longest).  I draped it over some family pictures (in great need of updating I might add) in our hallway.  I discovered that I just don't have any good places in my house to display these types of banners and yet I keep making them.  Man do I ever need a mantle.  Anyway like I said these would be cute along a table edge, hanging over a bed, on a mantle, across a window, or along the edge of pews (like at a wedding).  Wherever you hang it, it is a simple and beautiful way to dress up an area for a lovey occasion.
Pin It!
Print Friendly and PDF

Feb 9, 2013

DIY Love Letters from a Cereal Box

I know, I know in the craft blogging world all Valentines Day projects should have been posted long before now but in the world of Small Fry & Co I seriously am just getting to a few last minute Valentines Day projects and since my goal is to keep things real on this blog I wouldn't want you to be led to believe I have everything done for each holiday at least 1 month in advance.  So here is my last minute V-day project but it is not a 30 minute craft so I wouldn't put it off til the night before.  I used the ideas from this tutorial I found on how to make monogram letters out of a cereal box. 
I fully intended to show you how I created the letters ( I even left one blank from last nights crafting to this morning so I could photograph all the steps) but then I got talking on the phone and crafting (cause I multipurpose like that) and totally forgot to take any pictures.  So the only thing I had left was the heart.  I drew all my own shapes (but you could make your own templates on the computer).  Mine are only 1 inch wide also, but the width could be anything you want.  And since I intended to cover mine (using wrapping paper) my pieces are all held together with duct tape.  So go to the link and check out the basic idea and then come back so I can show you what I did to cover the pieces.

Start with your shape, or letter-held together by LOTS of duct tape.
 Spray one side with spray glue and stick to the back side of your paper.  For the heart I used scrapbook paper but for the letters I used wrapping paper.  Cut the paper about a 1/2 inch bigger than the shape or letter.
 Next if the piece has any curves you will want to make little snips all the way around on the paper.
I put a piece of double sided tape along the shape next to the edge and then folded in all the little pieces.  You are going to cover the sides in the end so it doesn't really matter how they look in this step.
 Repeat the process on the other side.  Now to finish the edge put a strip of paper the same width as the shape, spray it with spray glue and then press all the way around the shape.
 Make sure to press down firmly and smooth out any wrinkles.

I sprayed mine again with spray glue and then glittered the heart on both sides.
Here is the finished set.  They are not perfect but they turned out cute and they were cheap.  I don't think I would attempt to spell "Christmas" this way but for a single letter or a short word, I think this method has some nice possibilities.  I think I "love" this idea actually.

Pin It!
Print Friendly and PDF

Feb 5, 2013

You Are My World-Hubby Valentines Day Idea

I found the most fantastic set of FREE printables at Kiki & Company and they are perfect for making a Valentines mini album for your husband or boyfriend.  There are lots of cards to choose from and even some blank ones to make your own.  I used 5 premade cards, plus 4 make your own cards and then one for the cover (making 10 pages total).

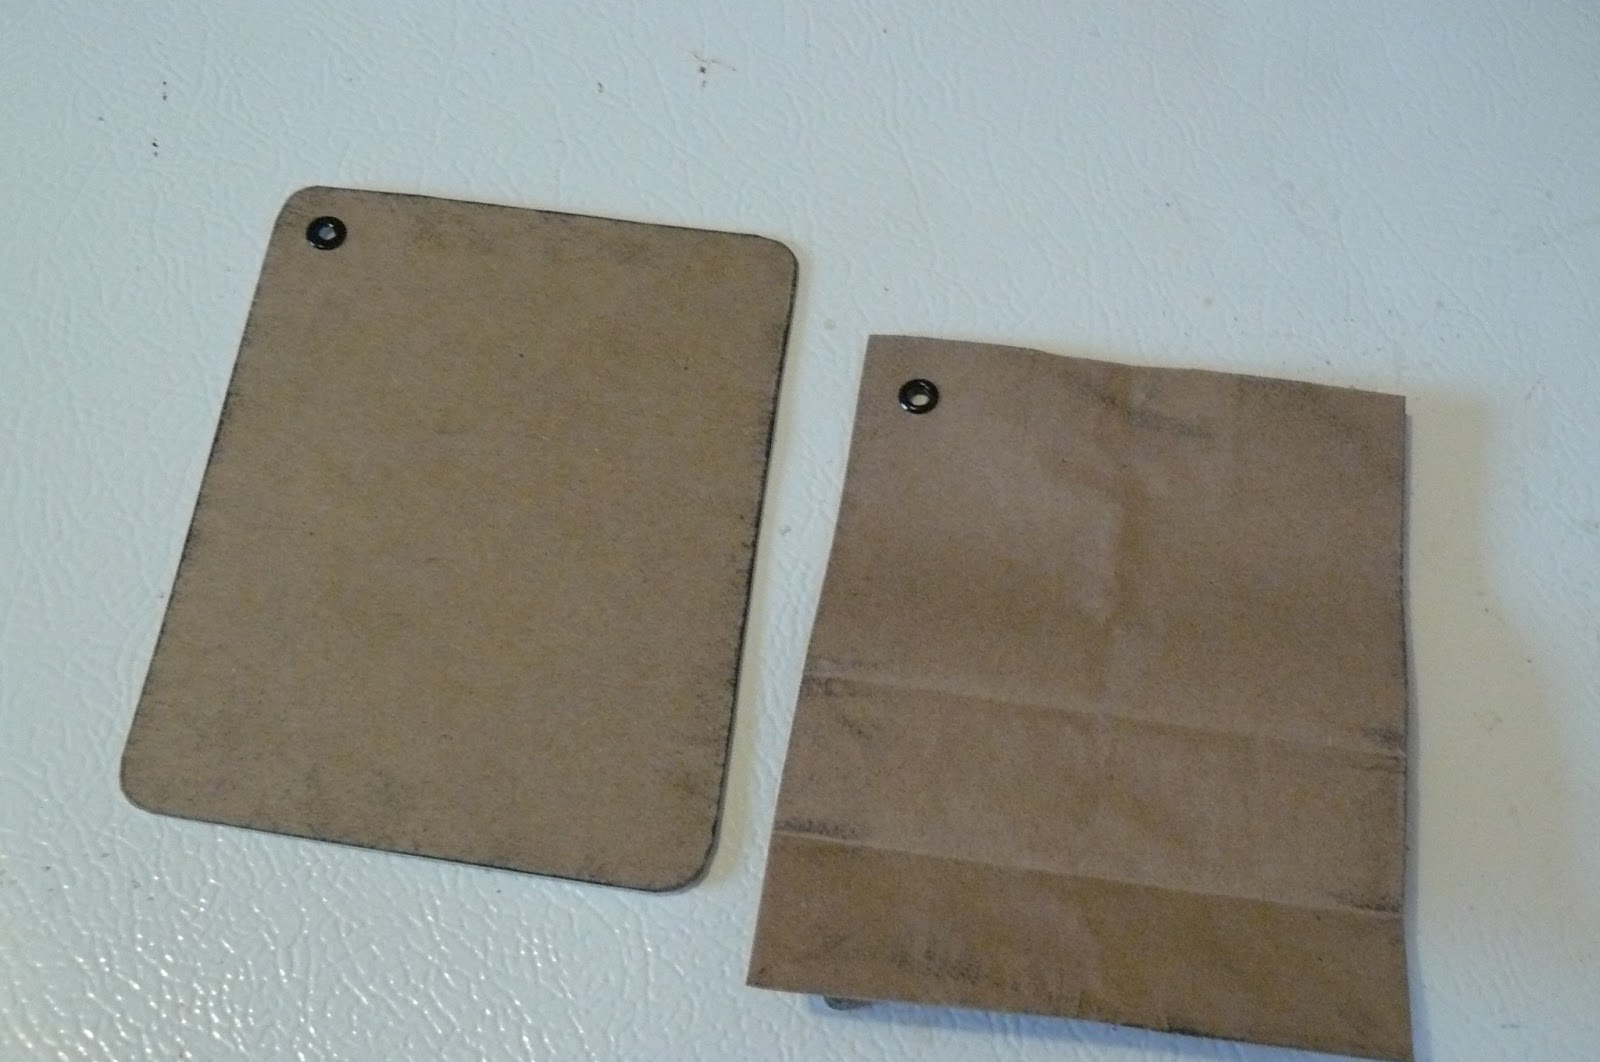
I created my album out of chipboard and my fabulous mini paper bags.  I cut the chipboard pieces to match the size of the paper bags (cut down-5 1/4 x 4 1/4").  I rounded the corners of the chipboard and then inked all the edges.
I added an eyelet to the corner of each piece.
 I double mounted each card and then attached them to the front of each album piece.

And now for the album:
Here is what I came up with.  It is pretty simple but it is for my hubby so I don't always go all out on the cutesyness of things when they are for him.
 On the backsides of the chipboard pieces I wrote stuff and I put the make your own cards on the paper bags and then came up with sayings that could relate to a treat I could put in the bag.  This one had skittles

 This one had peanut M& M's in it.


 This one has a big fat rice krispie treat in it.

 And this last one has a coupon for an ice cream in it.


There are tons of possibilities with these and really you don't even have to be that crafty to make this.  Mine is mostly writing.  Sometimes craftiness is overrated on husband gifts anyways.  Check out the free printables  at Kiki & Company.  These are probably one of my favorite Valentines printables to date.  So perfect for the one you love.  (oooh- a brilliant idea just hit me-you could have a little date night with your spouse and make a set of the blank ones for each and see what you could come up with for each other).

Also shared here:


Crafty Confessions


Pin It!
Print Friendly and PDF

Jan 29, 2013

Some of My Favorite Free Valentines Day Printables

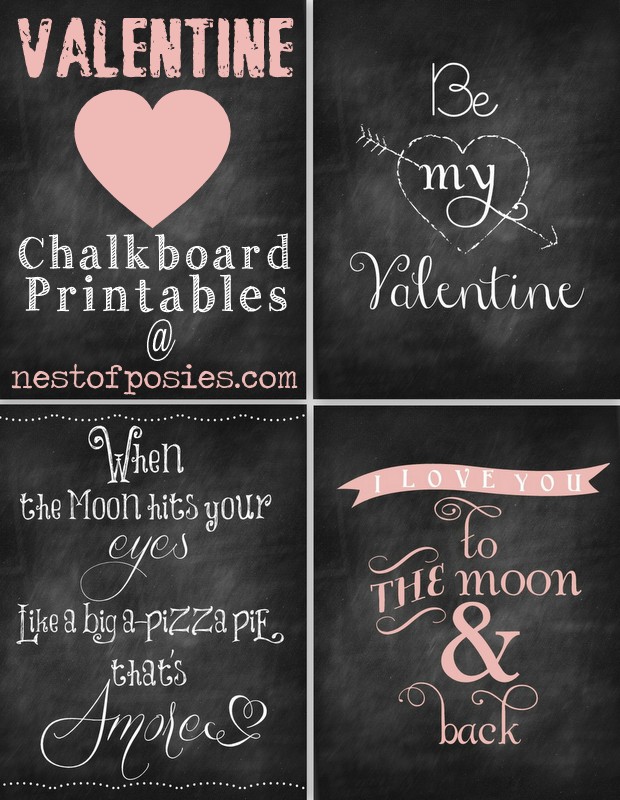
Don't you just love free stuff.  Even if I don't need it I want it just because it is free (is that a sign of being a hoarder???? YIKES).  Anyway Pinterest just adds to my "must have more free stuff" fetish.  But what I love about Pinterest is now I don't have to have it all at once.  I can find it, pin it and then come back to it at another time-you know spread out the free stuff love.  Well here are a few FREE Valentines Day printables that I just LOVE!!!!  Now you can print them out yourself and share them with someone that you love too.

Valentine #Chalkboard #Printables via Nest of Posies #Valentines


Kids Valentines Day Card Printables


boy valentines


Valentine Candy Bar Wrapper


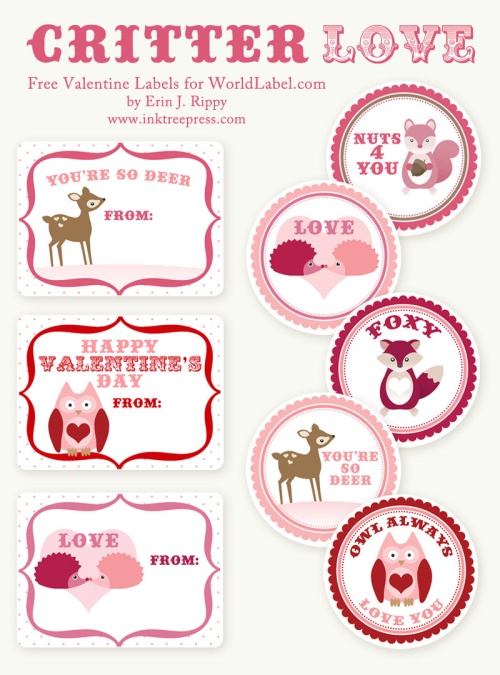
Critter Love

Critter Love Labels from World Label (scroll down to find it and check out all the other cute things along the way)


You are the ______ to my ______ cards from Kiki and Company (look for an upcoming project I have using these).

Want more Valentines ideas?  Check out my Facebook page for a mini roundup of my favorite Valentines ideas for kids.


Pin It!
Print Friendly and PDF

Jan 22, 2013

Valentines Coupon Books for Kids from Mom


Look what I got for Christmas:
It's a package of 500 small paper bags( 8 1/8 " x 4 1/8") from Sam's Club.  It is just what I asked for.  I mean what more does a girl need than 500 paper bags and Pinterest-it's a match made in heaven.  So I decided that this year I am going to try and do 1 project using paper bags a month (at least , though I might be an overachiever).  So for this month I thought I would show you how to use paper bags to make a coupon book for your kids. There are always coupon books for kids to make for parents but how about one that you make for your kids.  
The one that I made has 6 coupons so you will need 6 bags.  I do have a link to the coupons however they are not rewritable (because I am not smart enough to figure that out-so if you know how please share that info) so if you are good with the coupons I came up with then please feel free to download and print them to use.  If you would like a set of blank coupons sent to you please send me an e-mail.
1. You will start by putting all 6 bags together and stitching through the bottom end  (eyelets, brads or staples would probably work too).
2. Don't stitch up any higher than a 1/4" because you need the full length of the bag to fit the coupons.
2. Now you will attach the bag flaps to each other.  If you fold back a bag you should see something like this:
Put a couple of pieces of double sided tape on the flap and tape it down to the next bag.  Repeat with all the bags.
Then place the bags with the flap side up.  This will become the top of your coupon book.
3. The next step is to decorate the front.  I cut a piece of cardstock the same width as the bags and large enough to cover the bottom flap of the paper bags.  I also cut a small embellishment piece that I punched with a scallop punch and also the cover.
4. Attach these with glue, glue dots or double sided tape.  I tied a bow with some embroidery floss over the top (but bakers twine would look excellent-I just don't have any of it).  I am not sure if I am still completely satisfied with the cover but I didn't have any more time to fret over this project, so I moved on.
5. If you want you can stitch over the end of the cover paper again if you want-just adds a little extra detail.
6. Print out the coupons on cardstock (or presentation paper which is what I have been using lately and I love it.  I got 2 big packs at the thrift store one day and I am so happy with it).
7. Cut around the coupons.
8. Attach little ribbons or other embellishments to the ends of the coupons to make them easy to pull out.


And there you have it.  A cute and easy Valentines Day coupon book for your kids.  Of course you could use the same idea for husbands or boyfriends, or even grandparents.  

Want to print the coupons yourself?  Go here and here for coupons and here for the cover.

Also shared here:

Pin It!
Print Friendly and PDF
Related Posts Plugin for WordPress, Blogger...