Just in case you didn't get a chance to check this project out on the Pellon website I thought I would repost it. It's not too late to add another Halloween project or two.
This is a project that came to mind as I was cutting up a paper bag for another project I did. As I was chopping that bag up I thought, "man I could really turn this into something" and thus was born the idea for a trick or treat bag. I think that people shy away from using paper bags as a trick or treat bag because well #1 they don't have handles and #2 they don't hold up very well if you made some sort of handle on them. Hopefully I have helped that problem and created a cute and functional bag. DISCLAIMER: I am not going to guarantee this will hold up under any amount of candy and any amount of being swung around aimlessly by any child. Under "normal" circumstances it should be just fine.
For this project you will need:
1 large paper grocery bag (like this):
Black spray paint
Duct Tape
Pellon Heavy Duty Wonder Under
Large Eyelets
Fabric Scraps
Iron
1. Spray paint the paper bag black (or you could use another color-just make sure it is dark enough to cover any writing that may be on the bag).
2. Fold down 1 1/2" of the paper bag towards the inside.
3. Tape folds down with pieces of duct tape.
4. Place a second layer of duct tape all the way around the inside edge of the bag.
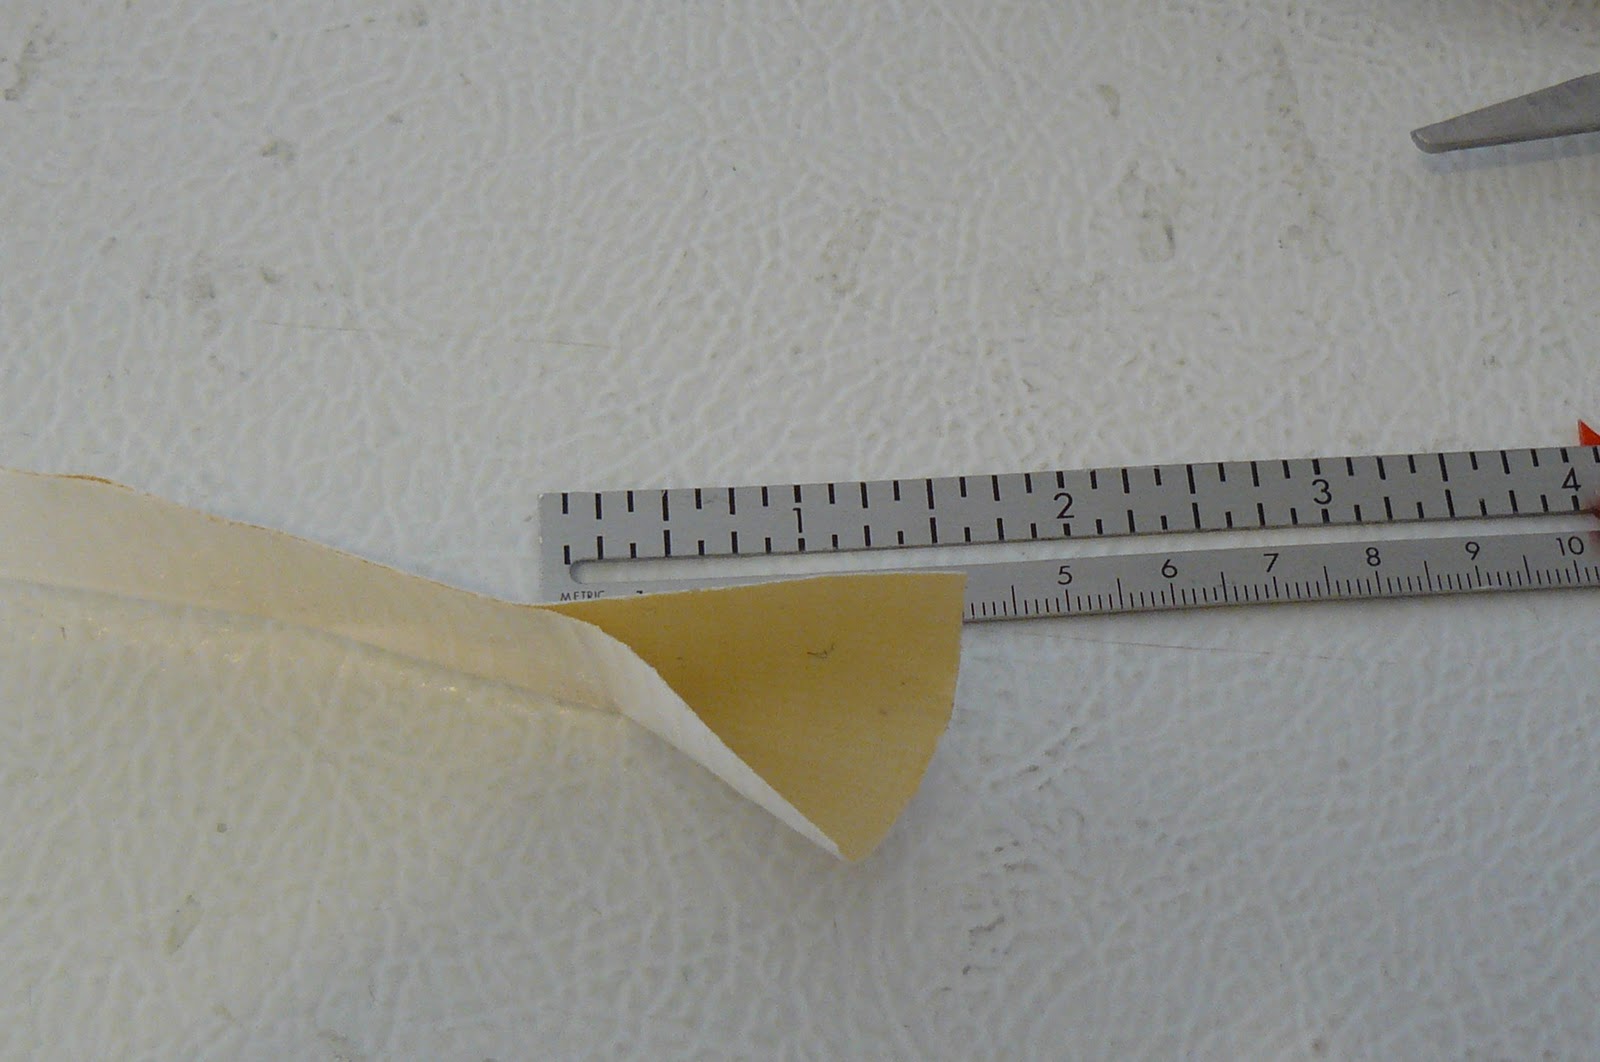
5. Now cut two strips of duct tape (these are going to make the handles) at least 20" long but you could make them longer if you like (well or shorter too I guess). I put mine on my work surface like this so that it wouldn't get all stuck to itself.
6. Now fold the tape in half starting in the middle and work your way to the ends but...
leave a 1 1/2" piece unfolded at each end.
7. Press the ends of the handle piece down on the inside of the bag about 2" in from each edge (placement is really up to you and what you like).
8. Now place another piece of duct tape over each side with a handle to keep the handle piece secured.
9. Next is adding the eyelets. I have these really big ones that my mom bought years ago. I have still seen them in sewing/fabric stores. Usually they come with a little card of instructions (I am going to assume you will have those to know how to attach these).
10. Start by punching a hole with a regular hole punch directly over the middle of the handle piece and down as far as the hole punch will reach. It is a tough punch but put a little muscle into it and it will go through. Then attach the eyelets according to instructions.
It should look like this when completed.
11. Now for the design part (the really fun part). Begin with some heavy duty Wonder Under.
Trace all parts of the pattern (
part one) and (
part two) onto the Wonder Under. Label them if you are not sure you will remember what everything is.
12. Next I cut out all the pieces and place them in groups according to the color of fabric they will be ironed onto.
13. Now iron all your pieces onto the wrong side of your fabrics. Cut out on the line and peel off the backing paper.
14. Now I assemble any parts that will be ironed onto a piece of fabric before it is ironed to the bag like the control panel for the robot and his face. I used a permanent marker to draw the eyes and mouth (I have to have my characters have eyes as soon as possible).
15. Now carefully place all the pieces with the backing paper peeled off onto the bag.
16. Cover with a pressing cloth and iron in place. The press cloth can stick to the paint so don't hold the iron down for any longer than necessary. If you have an old iron that you don't care about you could iron right on the bag (it might get some paint flecks on it).
17. And the last thing to do (besides admire your cute creation) is to add any embellishments you might want. I added ric rac and some buttons. Done-easy and super darn cute. Totally beats any pillow case any day.