This is the last of my getting organized desk or home office set-a divided wire basket with labels.
For this project you need:
1 of these wire baskets (though you could probably accomplish something similar with another kind of basket)
Heavy cardboard
Fabric scraps
Pellon ultra firm stabilizer scraps
Labels printed on fabric (leftover from the previous projects)
Sticky backed Velcro
Start by measuring the width of the basket.
Next measure the height
Cut two pieces of cardboard with those dimensions.
Place the cardboard in the basket like so:
Using one of the side wires of the basket trace the correct angle on the cardboard.
Cut with a sharp knife and fit back into the basket.
On the angled side mark two dots for holes an inch from the top and bottom.
Punch holes with an eyelet tool or a large nail. Spray paint the cardboard pieces to match the basket or your decor.
From the fabric scraps cut 3 3 1/2" squares (or as many as you want labels).
Fold it in half right sides together.
Stitch along one side and the top.
Turn right side out.
Insert a small piece of ultra firm stabilizer (3 x 1 1/2"). Iron to the fabric label.
Tuck under the open edges.
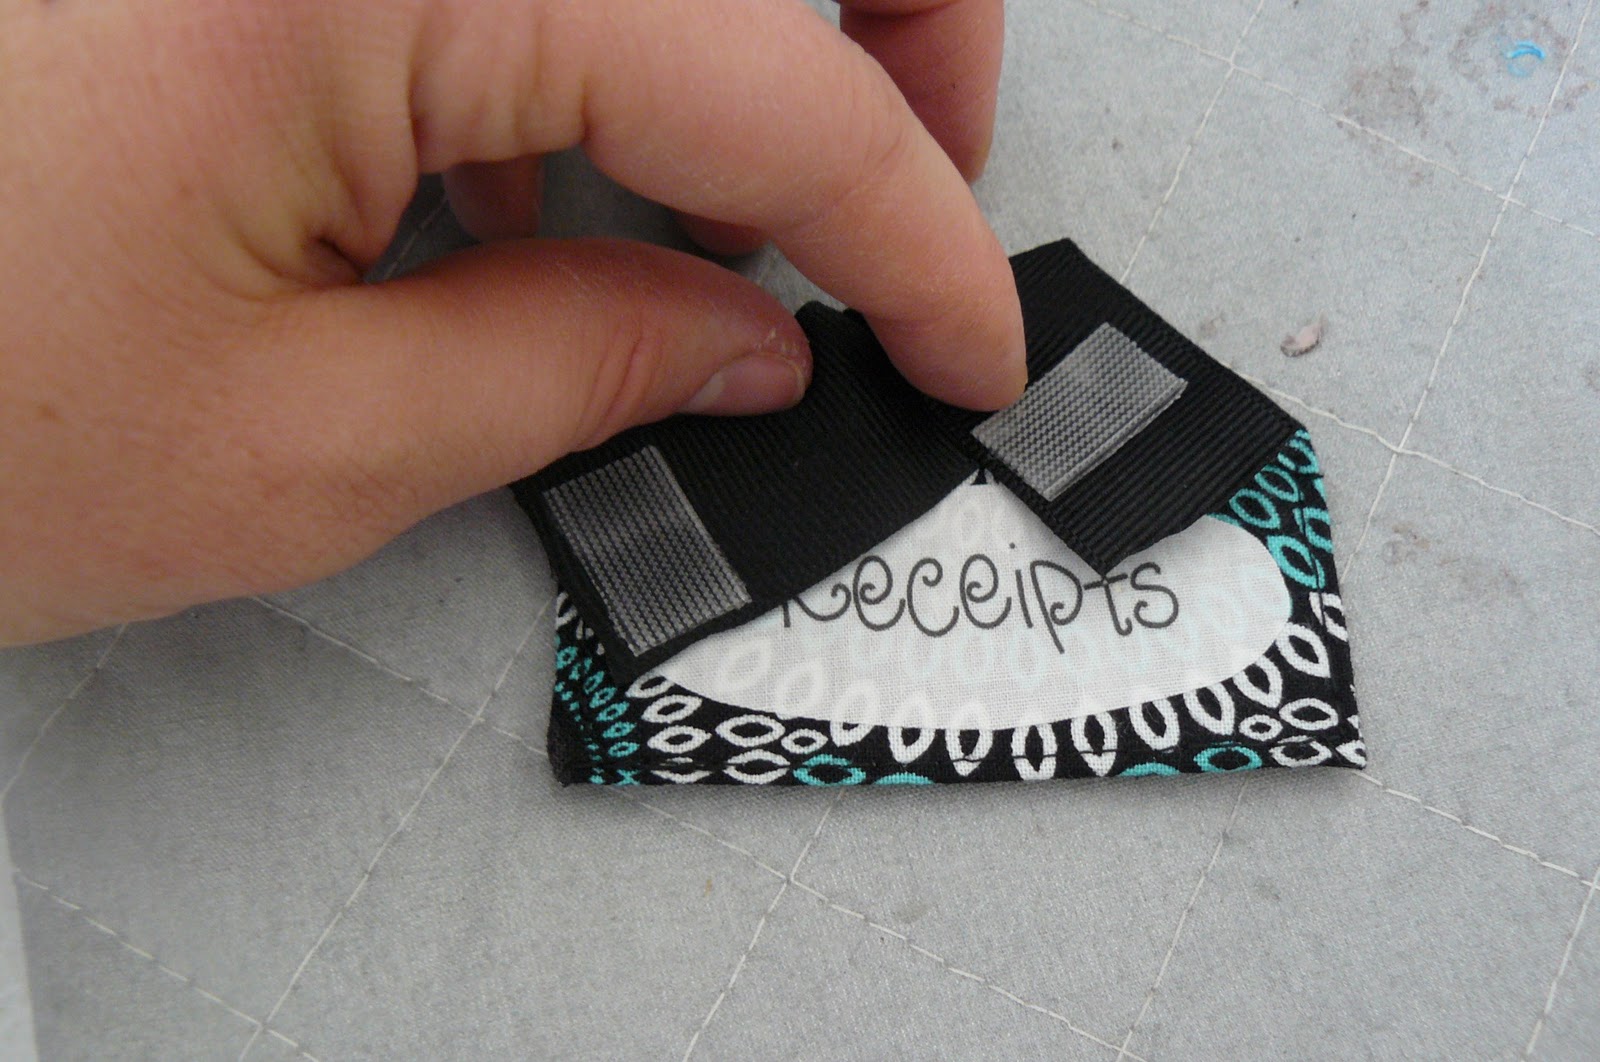
Pin in place as well as pinning a piece of ribbon 4" long (folded in half) on the top.
Sew around all 4 sides catching the ribbon.
Iron on the label printed on fabric.
To attach it to the basket I added two small pieces of sticky Velcro.
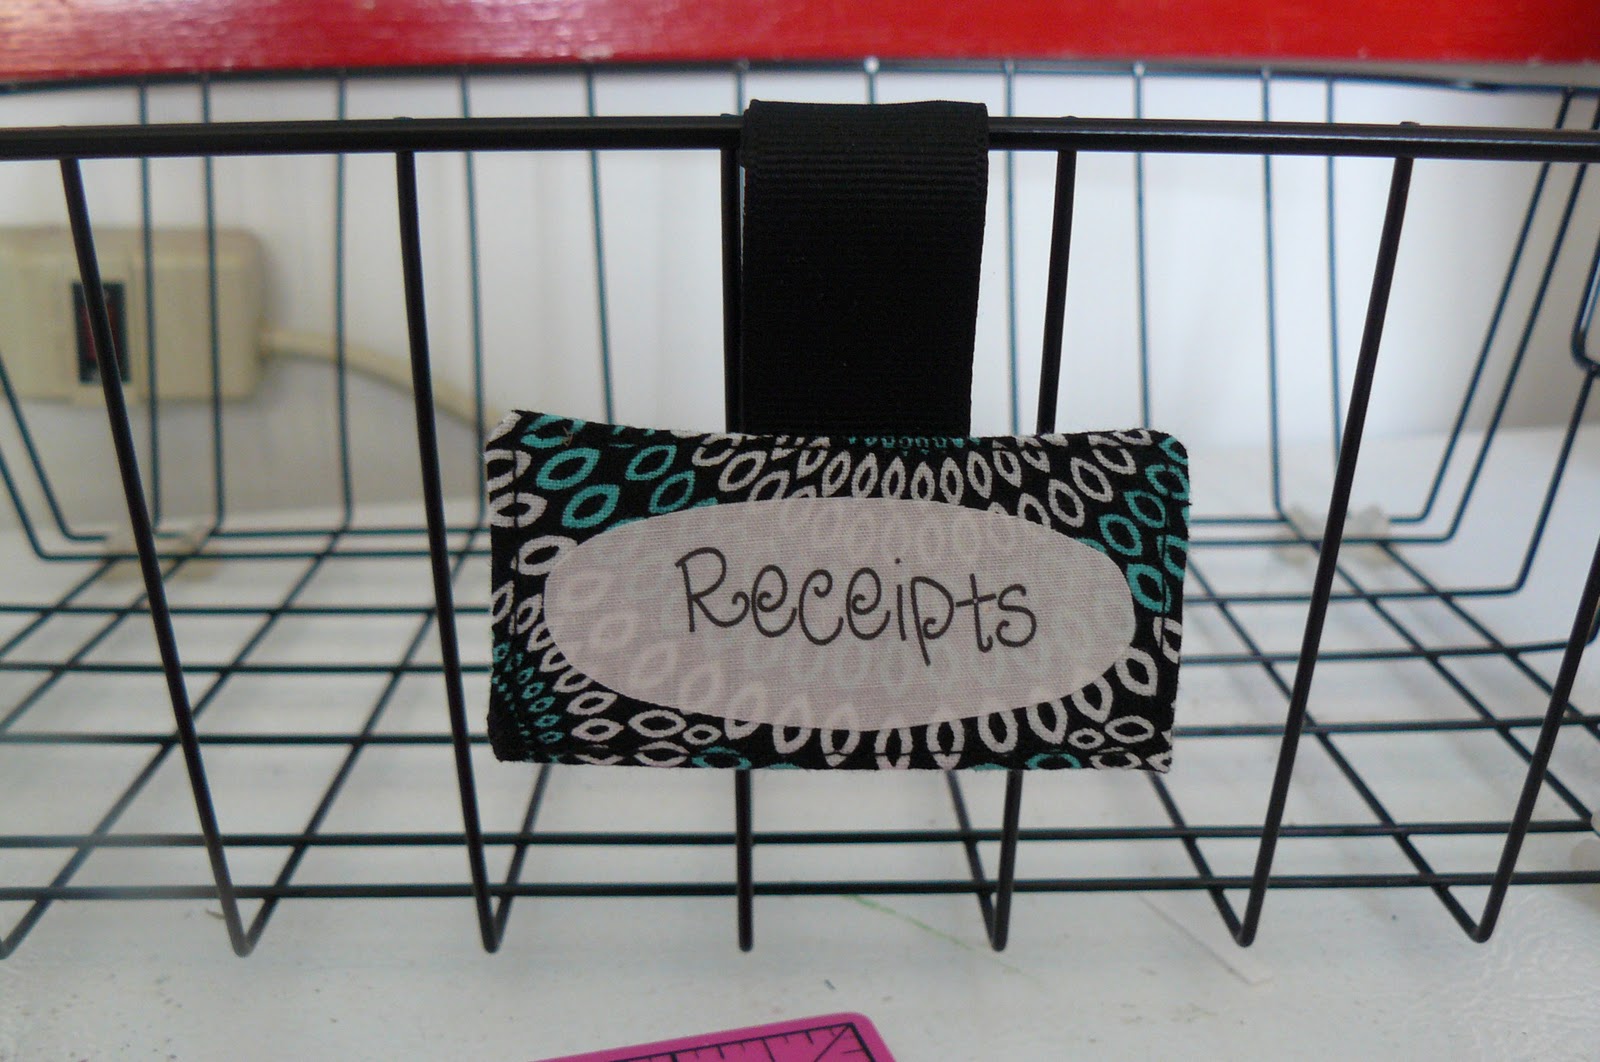
And here is the finished product. The cardboard pieces are tied on with pieces of coordinating string. It is a quick and easy upgrade of a plain old basket.


No comments:
Post a Comment