

I tore this idea out of a Paper Crafts Magazine years ago and finally decided to give it a try. I was looking for something new and I had always loved how cute these looked but thought that they would be much harder to make than they really were. Tis the season for giving so I put together a quick and easy tutorial for anyone else looking for something cute and different for holiday gift giving.
Materials:
1 piece of scrapbook paper (heavy cardstock) 8.5x11"
2 pieces of embellishment paper for front and back 3.5x4.5"
2 pieces of ribbon 17" (each)
Glue and double sided tape
1. Start by scoring all of your lines. You will score a line lengthwise (the tall way) 1 1/4 inches in from the side edge. Repeat on the other side. Then you will score a line width wise 4 1/2 inches from the bottom and 4 1/2 inches from the top. (see diagram) You will fold on all of these lines expect where there is a dotted line in the picture (on the 4 1/2 inch lines from the edge of the paper to the 1 1/4 inch scored line). You will cut on the dotted line with scissors.

Sorry this picture is blurry, but this is what it should look like once you have folded and cut.

2. Now to form it into a bag, you will put glue or double sided tape on the two little flaps and down one side edge. I used double sided tape as I thought it had the best hold. Do this on both sides first and then assemble. To assemble tuck the flap up first and bring the two side pieces together (one will overlap the other-obviously the one with the tape underneath). Repeat on the other side. Should look like this:
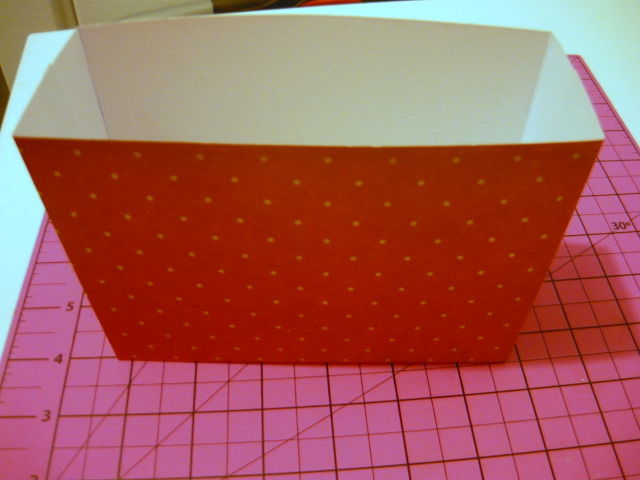
Inside view

3. Lastly you will decorate. Start by adhering the embellishment pieces to both sides. Next add the ribbon handles. I ran a piece of double sided tape along each side of my center piece and tucked it under the bottom about a half inch. I placed my ribbon on the underneath (bottom) first and then up the sides-pressing in place. Repeat on the other side. Tada-there you have it.

Perfect for all those "little gifts" you are going to be making.


Very cute idea. Thanks for sharing.
ReplyDeleteSewCalGal
www.sewcalgal.blogspot.com