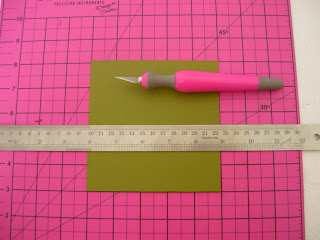
To make it you will need:
1 piece of 12x12 cardstock
Additional paper to decorate however you would like
Double Sided Tape
1. Start by cutting out 5" squares. You will need 4 of these.
2. Score each card down the middle and fold to create a crisp crease.
Like this:
3. Next using an Exacto Knife, cut down the center of one flap up to the center fold so that one side of the square has two flaps (see image).
4. Now to assemble. Apply double sided tape to the left side of the uncut half of the square. Now lay them out in this pattern (like a plus sign). I am going to assign each square a number to help explain the assembly steps. The top center square is going to be #1, and then going clockwise from there, #2, #3 and #4. 
5. Begin by placing the right side of square #4 on the left side of square #1. Make sure you line up all your edges.
6. Now place the right side of square #1 on the left side of square #2.
It should look like this so far:
7. Finally place the right side (if you are looking at it from above) of square #3 underneath the right side of #2 and the left side on top of the left side of #4.
So now it will look like this.
8. Next to create the flaps fold in every other flap.
9. Here is where you could turn it into a little scrap book and put a picture on each flap. I decided to tape mine down in the center to create a solid square, like this:
10. Now you will want to do all your embellishing and decorating. When that is complete to help hold it together I punched a small hole in the center corner of each flap.
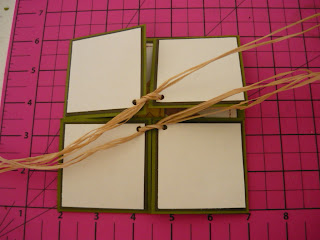
11. I used raffia to tie mine but ribbon would be pretty also. Tie a piece of whatever you are using through the top two holes and the bottom two holes (make sure you haven't turned your card upside down or something because you want it to be right side up when it is opened.
12. Tie those together to form one large bow.
Here is my final product:
The inside.
Merry Christmas and happy crafting.


Oh my word, this is adorable! You are just too crafty.
ReplyDelete