I posted this project last year as a sew along project (that idea didn't go over so well because no one sewed along so I canned the sew alongs) but I did have a lot of people comment on how much they wanted to make this cute guy. So I decided to start off my snowman week by reposting this project-all in one (which means it is mega long because I tried to make it very detailed). Don't get overwhelmed-it is a detailed project but by no means hard. Think how cute he would be dressed up for Christmas.
Enjoy and happy sewing.
Materials
1 piece of muslin or white sturdy fabric 18 1/4 x 32” (if you want a fatter snowman plan for more)
Stuffing (batting or foam chips)
Beans, rice or wheat to create weight in the bottom
Black, white, and orange embroidery floss
Dowel-7/16 x 48 Cut into two 24" pieces
Felt or fleece for coat 20 x 60” (includes enough to make hat of the same color)
44 x 8” piece of fabric for scarf and mittens
36” piece of ribbon or string for hanger
Hanger decorations including clothes pins
1 piece of foam core board 9 1/2 x 7 1/2" (yours could be what ever size you want)
Spray paint for sign stick and sign board (I used chalk spray paint for my sign) and clothes pins
Hot Glue
Part 1
1. Cut large material piece for body. Turn right sides together and sew a ¼ inch seam to form one long tube.
2.Thread a large sturdy needle with 1 long piece of embroidery floss (a reader suggested using dental floss instead-have to try it some time). Tie a knot in one end.
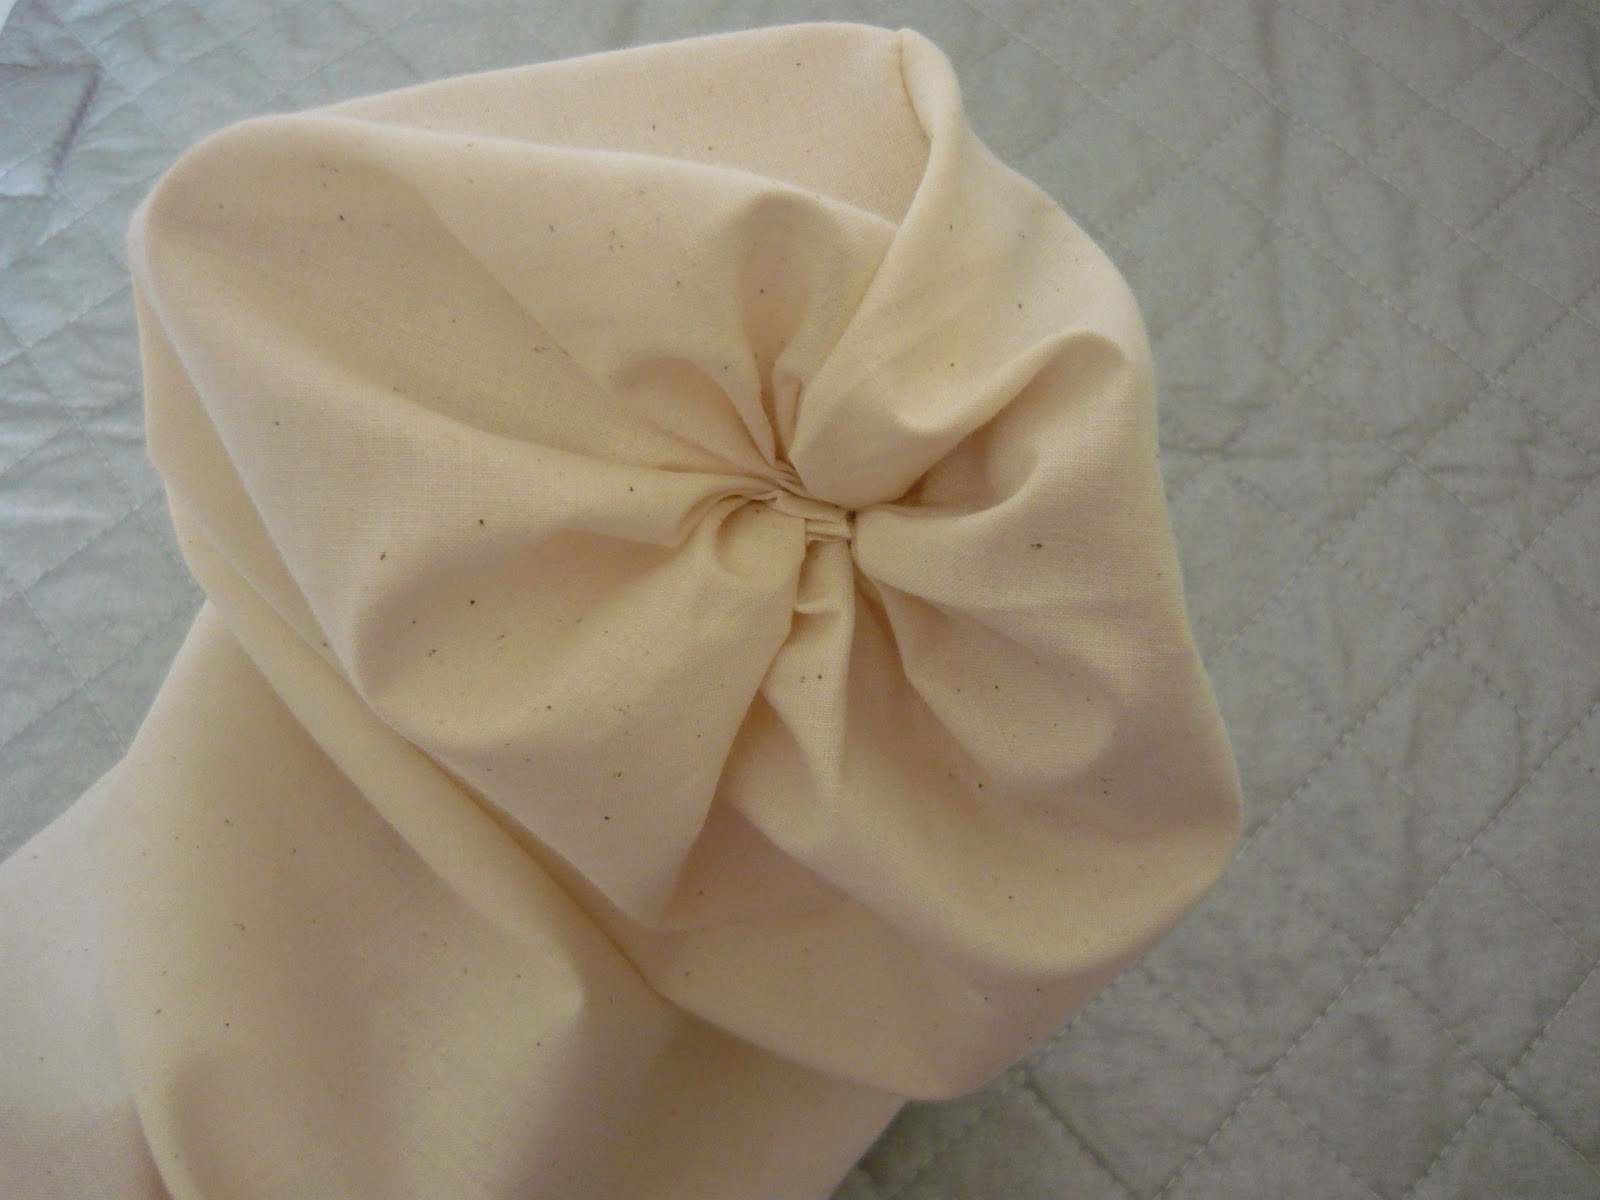
3. Sew a running stitch all around one end of the tube (to create the bottom).
4. Gather by pulling tight...
and sew 3 or 4 stitches back and forth through the gathered end to secure it.
Tie off your thread and cut.
5. Turn tube right side out.
6. Fill the bottom of the tube with something to weigh your snow man down and help him stand upright. I used pinto beans because I had an excess of them in my house (hey I still consider this “using my food storage”). I placed mine in a bag first. This will allow you to do the next step. I secured the top with a rubber band. I used about 6 cups of beans. You can have more than this-but I wouldn’t recommend less. I actually recommend more (if I could go back I would have filled him up a bit more).
When you put the weight in the tube as is, the snowman's body looks a bit bumpy. You can do it this way and it doesn't really matter or you can do this...
Wrap the bag of beans (or whatever you are using) in a piece of quilt batting. I found I had to tape it to the bag to start and then to itself before putting in the tube. Don't secure the rubber band around the bag too tight because you want to have room to manipulate your weights inside as you slide this in.
7. Now slide it carefully into the tube and adjust the batting as needed. See looks much better don't you think?
8. Finish stuffing the rest of your snowman. You want him firm. When you get near the top don’t stuff him as much as you will need to be able to manipulate the top to form his head.
(this is the top stuffed loosely).
9. Once again thread a needle and sew a running stitch around the top of the tube, pulling tight to gather and sewing a few stitches back and forth to secure.
Will look like this.
10. Now you will want to define his head. I did this by placing a rubber band around the tube where I would want his neck to be. This will be covered with a scarf. Mine is about 6 ½’ down from the top.
11. Now because I am weird-I have to put his face on next. I can catch the whole vision better when my creation has a face. This could have been done before he was sewn up at the top I suppose. Since his head is going to be covered this works too. Thread a needle (a large honking one) with black embroidery floss. I used 4 strands but 3 will work too or all 6 just not less than 3. Tie a knot in one end. Starting at the top near the gather insert your needle then pinch his head with your fingers...
and have your needle exit where his first eye will be.
Next you will tie a French knot.
To do this pull the needle all the way out until you get to the end of the thread (in this case you will see that it starts pulling at the top where your knot actually is.
Don’t pull too tight).
Wrap the thread around the needle (at the part closest to the fabric) about 4 times (not less but not too many more).
Now insert the needle back into the fabric right beside (close beside) the exiting thread, move your needle over and have it come out again beside and slightly up from the first eye.
Hold onto the remaining thread as you pull the needle through to keep it from bunching up.
You should pull until you have created your first knot and it is tight.
Repeat this same process except...
when you insert your needle this time you will pinch his head again and ...
have the needle exit the top of the head near where you started from.
This gives him beady little eyes which almost all of my creations have.
If you want you could skip this all together and glue on some buttons, or circles of felt.
You could even draw them on for that matter.
12. Last for today comes the carrot nose.
I wanted it to be 3-dimensional on this snowman.
To create the nose use an orange piece of felt.
Draw a curved line about 3 ¾ inches up from one corner point.
13. Cut on this line.
14. Run a bead of hot glue down one straight side and ...
roll the felt to form a cone and secure the sides together.
15. Stuff cone half way full (fairly firm).
16. Using a needle and orange thread sew a running stitch right above where stuffing ends.
Pull tight and tie to secure.
Trim off excess.
17. Hot glue in place.
I glue it first and hold it until it stays then...
I run some extra glue around the base and press the nose against the body and hold it until the glue dries.
18. Okay, one more step. Apply chalk or blush for his cheeks.
Small fry wanted me to dress him and her up.
Part 2
1. Start by marking a dot on each side of the snowman body where you want the arms to be. I made mine about an 1 ½” below the neck.
2. Snip a small hole on the dot.
Repeat on the other side.
3. Now slide your dowel through from one side to the other (it is a bit tricky to get it through the second side because it gets caught on the batting inside so just keep wiggling and working it through).
Once you have the dowel even on both sides of the snowman secure it in place by running a bead of hot glue around the dowel where it meets the fabric.
This will also keep your hole that you cut from ripping any more.
4. Now the really fun part begins-dressing him. Start with the coat. The first thing I did was grabbed one of Small Fry’s coats (size 2T) and tried it on my snowman. I decided the arms were longer than I wanted and I wanted my snowman’s coat to be longer than hers was.
With this in mind I laid out my piece of felt (folded in half so it is now 20 x 30) and spread Small Fry’s coat on top.
I roughly traced around the arms and body of her coat making my arms shorter and the body of the coat longer.
I then cut this out.
This gives you two solid pieces.
I cut the top one in half so that I would have an opening to the coat.
(Sorry the picture is a bit dark, I was running out of daylight at this point).
5. Pin the arm and body edges together and sew with a ¼” seam.
(showing my seam)
6. Turn right side out and try on the snowman again (no you didn’t miss the scarf part yet-he just looked even cuter with it for this picture). Mark any adjustments you might want to make then take his coat off again to adjust and/or decorate.
7. For decorations on the coat I added a front pocket on one side, I added two large black buttons at the top and I sewed a ¼” seam all around the edge of the coat. After finishing that I decided I wanted some sort of collar so I folded down the front corners around the neck, pinned them in place and stitched them down. Then I dressed my snowman again. (this picture is showing the turned down collar-I was really out of day light and my craft room lighting is terrible so I knew I had to stop but I just couldn't yet).
8. Hat: cut two pieces of felt 9 ½ x 8” (this was left over after I cut out the coat). Turn them right sides together.
9. Sew a ¼” seam down each side. Trim with pinking shears if desired. Turn right side out.
10. Fold up about 1” on the bottom of the hat –run a bead of glue under it to hold it in place.
Tie a piece of black embroidery floss around the top to form the top pom pom.
11. Glue to snowman’s head.
1. Start with the scarf. For the scarf I cut a long piece of fabric (3 x 44”).
You could use fleece or felt too or even a real scarf.
Tie around your snowman’s neck.
Secure with glue if you would like (I didn't secure mine that makes it so that I could change it if I wanted to).
I tied mine in a double knot.
Cut slits in the ends to look like fringe.
2. To make the mittens I used one of Small Fry’s mittens as a pattern.
(If you don’t have small mittens around don’t panic.
You could free hand one, or find a clipart one and enlarge or reduce the size to what you want).
3. I traced a pattern on paper first...
then cut out 4 mitten pieces.
4. Turn these right sides together and sew a 1/8” seam all around leaving the cuff part open. Clip to the stitching between the thumb and the rest of the glove (this is very important if you want it to look right when you turn it). Clip the rest of the curves with small slits (don’t cut your stitching). Turn right side out.
5. Stuff so they are fairly firm.
Slide onto the ends of the dowel (I couldn’t get the dowel to go through the stuffing so the dowel is behind the stuffing at the back of the mitten).
To secure I first put some hot glue around the dowel where the mitten ends and pinched the mitten around to stick to the hot glue.
Next I put a rubber band around the end of the mitten for extra hold.
6. Now pull the coat sleeves over the mittens to where you want them and adhere with hot glue.
I tied an extra strip of fabric around the top of his hat to coordinate everything.
7. Last comes the garland and chalkboard. For the chalk board I cut a piece of foam core board down to 9 1/2 x 7 1/2" (that was my size-yours can be whatever you want). I spray painted it with chalkboard spray paint. I took the other half of my dowel and also spray painted it black. Once both were dry I hot glued the dowel to the back of the board and wrote my words. For the garland I used a piece of ribbon (36" long). I tied it around each hand of the snowman. I spray painted a few clothes pins black as well and sanded the edges once they were dry. For the garland decorations I found odds and ends around my house (2 mismatched socks and a pair of winter gloves) and then made a second scarf (just like I made the first one). You could add anything to the garland and have your sign say anything.
And there you have your finished snowman.
And because he is so cute you won't just want him around for Christmas-if you live some place cold why not keep him out until Valentines Day.


Oh my goodness! This is so cute, love that you made him his own coat!
ReplyDeleteI love him! And this is another project on my to do list. I wanted to sew along....but it didn't happen. Maybe I'll get it done this year!
ReplyDelete