Showing posts with label scrapbooking. Show all posts

Nov 28, 2012

Keeping Memories: Made Simple Part 4

I wanted to share one final installment in my keeping memories series.  I was going to stop at 3 but I felt that these last ideas just needed to be shared.  

Idea #1: The Day You Were Born Albums
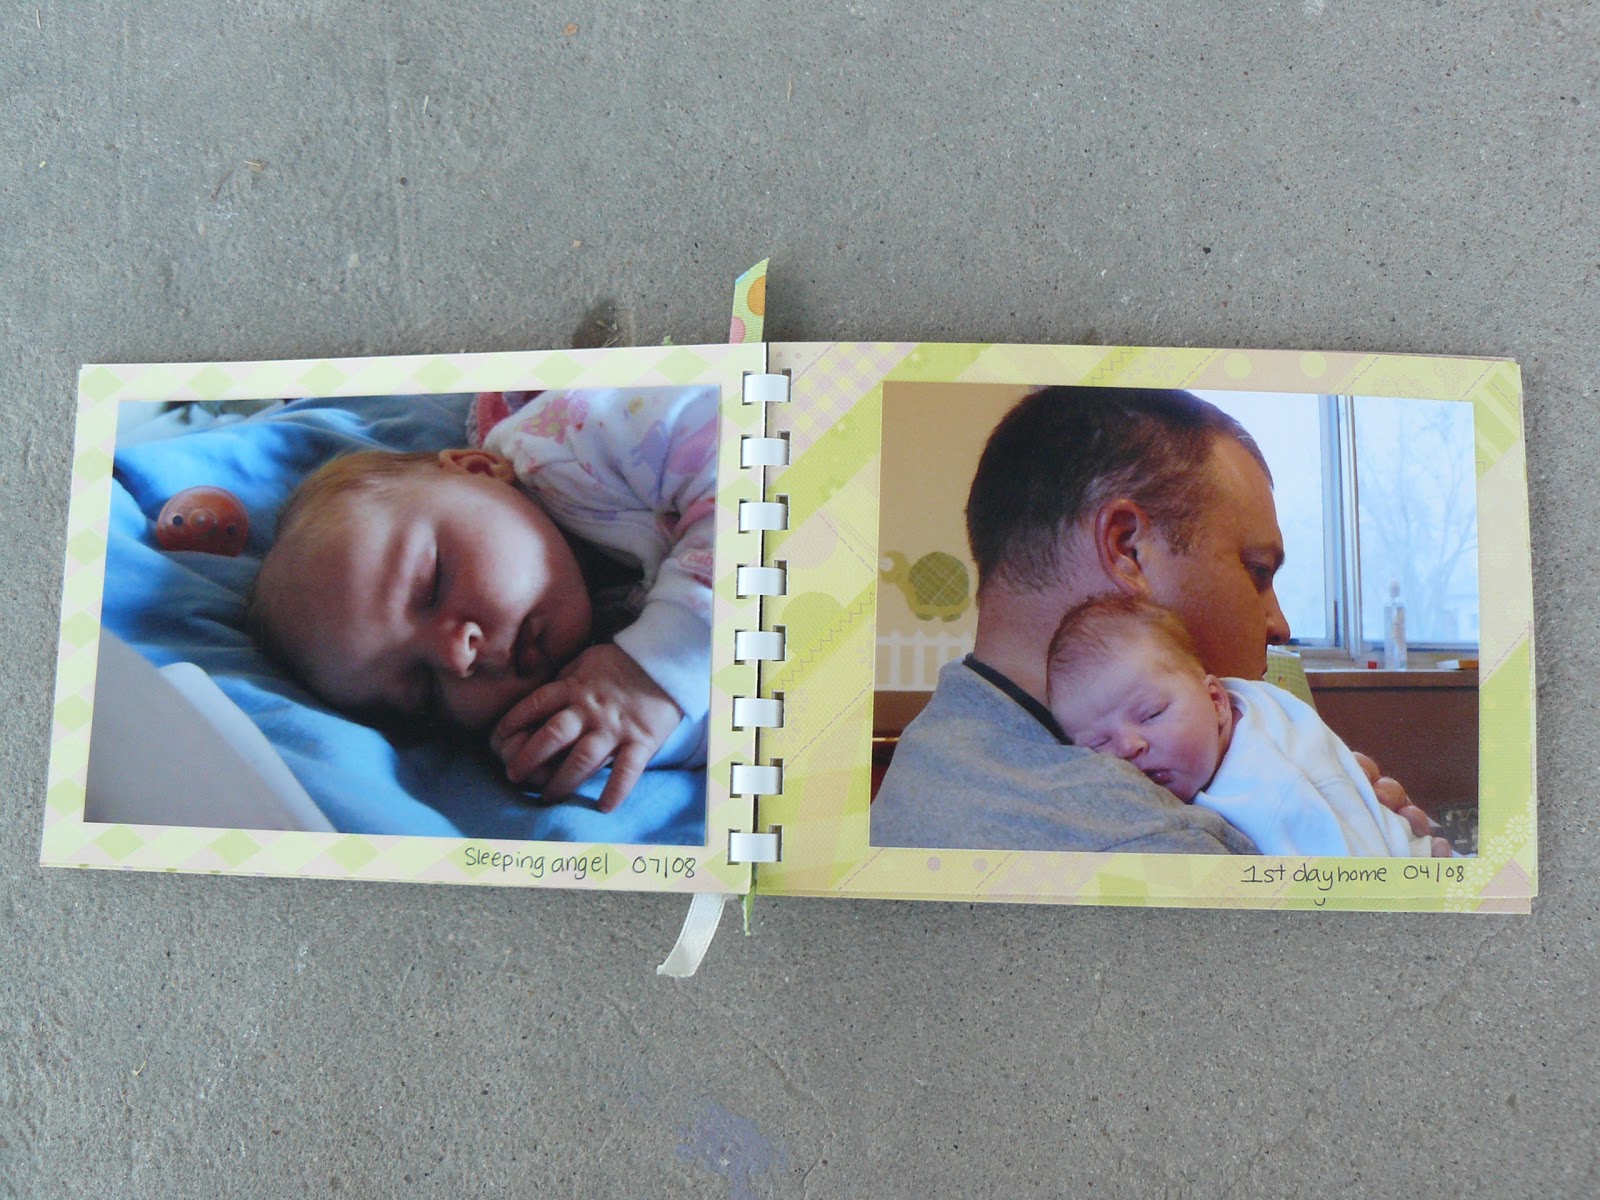
I got this idea after Small Fry was born.  It was inspired by two things: an 8x8 album I found on clearance at Walmart and a ton (and I mean a ton) of pictures from the hospital of both the day she was born and the following day.  I decided to make an album completely dedicated to those 2 very special days.  I loved the way it turned out so much that I made one for every child.  They are very simple.  I buy a scrapbook paper pack that is a theme I like, a few embellishments, and just hand write all the notes.  
 This is a look at Mr. T's (my sweetpie boy) album.  In his case because I felt like I was waiting forever for him to arrive I had the whole thing made before he was born and then just had to add in the pictures and the captions afterwards.  I was able to make all of my kids' albums within the first week after they came home because I kept them as simple as possible.  The girls love looking at theirs and seeing themselves as a baby.

 Idea #2: Keeping Cards
This could be done with birthday cards or Christmas cards.  In the case of this picture this is a stack of cards my husband has given me over the years.  He isn't always good at verbally saying how he feels but he buys the most wonderful cards for me all the time and they are a treasure to me so I want to keep them all together in a safe place.  I punched a hole in the corner of each card and put them on a ring.  I keep them tucked away in my keepsake drawer.  So before you toss a card that comes in the mail consider the message on it...because it could be a treasure.

 Idea #3: Kids journals
These are your basic composition books (I bought them at the Dollar Store).  I covered them with some cute paper and added my girls names.  In these I write letters to my kids.  I don't do it nearly as regularly as I would like but I try to write something down especially when they have done something funny or brave or have had a birthday or been in some other special event.  I try to keep them about positive things but occasionally I write when it has been a rough day and I have felt frustrated and I write about how I have felt but express my deep and never ending love.  I write them in letter format starting with "Dear..." and ending with "Love you. Mom".  These are something that I want to keep up for as long as I can and of course I want to add one for my Mr. T.  I hope they will be both a treasured keepsake for my kids but also a teaching resource for when they become parents.

 Idea #4: Family Gratitude Journal
I got this idea when I was at my parents house this spring for a talk given at church on journaling.  The man mentioned that his family kept a gratitude journal and that idea hit me so strongly that we needed to do the same thing.  We write in it every Monday night as part of our family home evening.  Each family member (and friend or extended family member-who ever is there at the time) gets a turn to share what they are grateful for.  At first when we started the girls could hardly think of a thing to share.  It was kind of frustrating because we did all kinds of things, there were friends and family get togethers, trips out of town and to the park, birthdays and other celebrations and they would always say, "I am thankful for the yummy dinner." Sometimes we would try and prompt them with ideas of things to be thankful for but then I felt like we weren't teaching them to think of and find things on their own.  So we just went with it and they have come a long way.  They are learning to think back and remember things better and it is so fun to hear the things that stand out to them which we often miss.  I am super in love with this idea.


Idea #4: Digital Scrapbooks
Even though I am not good at scrapbooking I do love the look of well planned and put together pages.  I still don't have the time for it though.  I know some people are die hard paper and glue scrapbookers and don't like the look of digital scrapbook pages at all but I am not one of those.  I think that there are so many beautiful ideas in the digital scrapbooking world that I want to try them all.  I made these pages using Smilebox.  It is one of the simplest digital scrapbooking companies out there (you can make cards, collages, DVD's and more with their program).  These "albums" are 8 pages long.  You choose a theme, add in pictures, type in text and are given the ability to change the colors and embellishments somewhat.  I can literally do one start to finish in less than an hour.  If you have a payed membership then you are given the option to print them at home or send them off to print.  I print mine through Sam's Club and they end up costing about $11.00.  I always keep my eye open for 8x8 albums on sale and buy one for each kid.  I make these after the kids have had a birthday or when we do something special with one of the kids.  I still include these pictures in a family photobook but this way each kid will then get a copy of their own special events.

 Idea #5: Kid Binders
I started these because I was getting a stack of papers that the girls had drawn or little projects they had made, plus pictures that I once had framed and then I updated them and didn't know what to do with the ones I had taken down, and just odds and ends that I wanted to keep for my kids but I didn't know where.  I do have memory boxes for each kid that I keep baby clothes, first shoes, special toys, first blankets and stuff like that in but I wanted something to keep the papers in so I made these simple binders.  They don't have much rhyme or reason to them but I try and label the things with at least a date on them as best I can.  I also don't keep everything because that would be impossible so I just keep some of the cutest.
 Another thing that I put in these are Valentines "101 Things I Love About You" lists that I write for my kids each year.
 I also try and include regular pictures of things like handprints that show how much they are growing.
Pin It!
Print Friendly and PDF

Nov 22, 2012

Keeping Memories: Made Simple (Part 3)

Have you found a memory keeping idea that is just right for you yet?  Well here are a few more ideas that are simple and easy ways for you to record memories of your children, or family or spouse, grandparents, you name it.

Idea #1: Name picture book
I bought a set of chip board pieces and decided to turn them into a name book for my little pumpkin.  On each page I put a picture of her and then a little label with a word starting with each letter of her name.  This is a simple way to save pictures and express how you feel about someone else.  This would be fun to do for your spouse also.


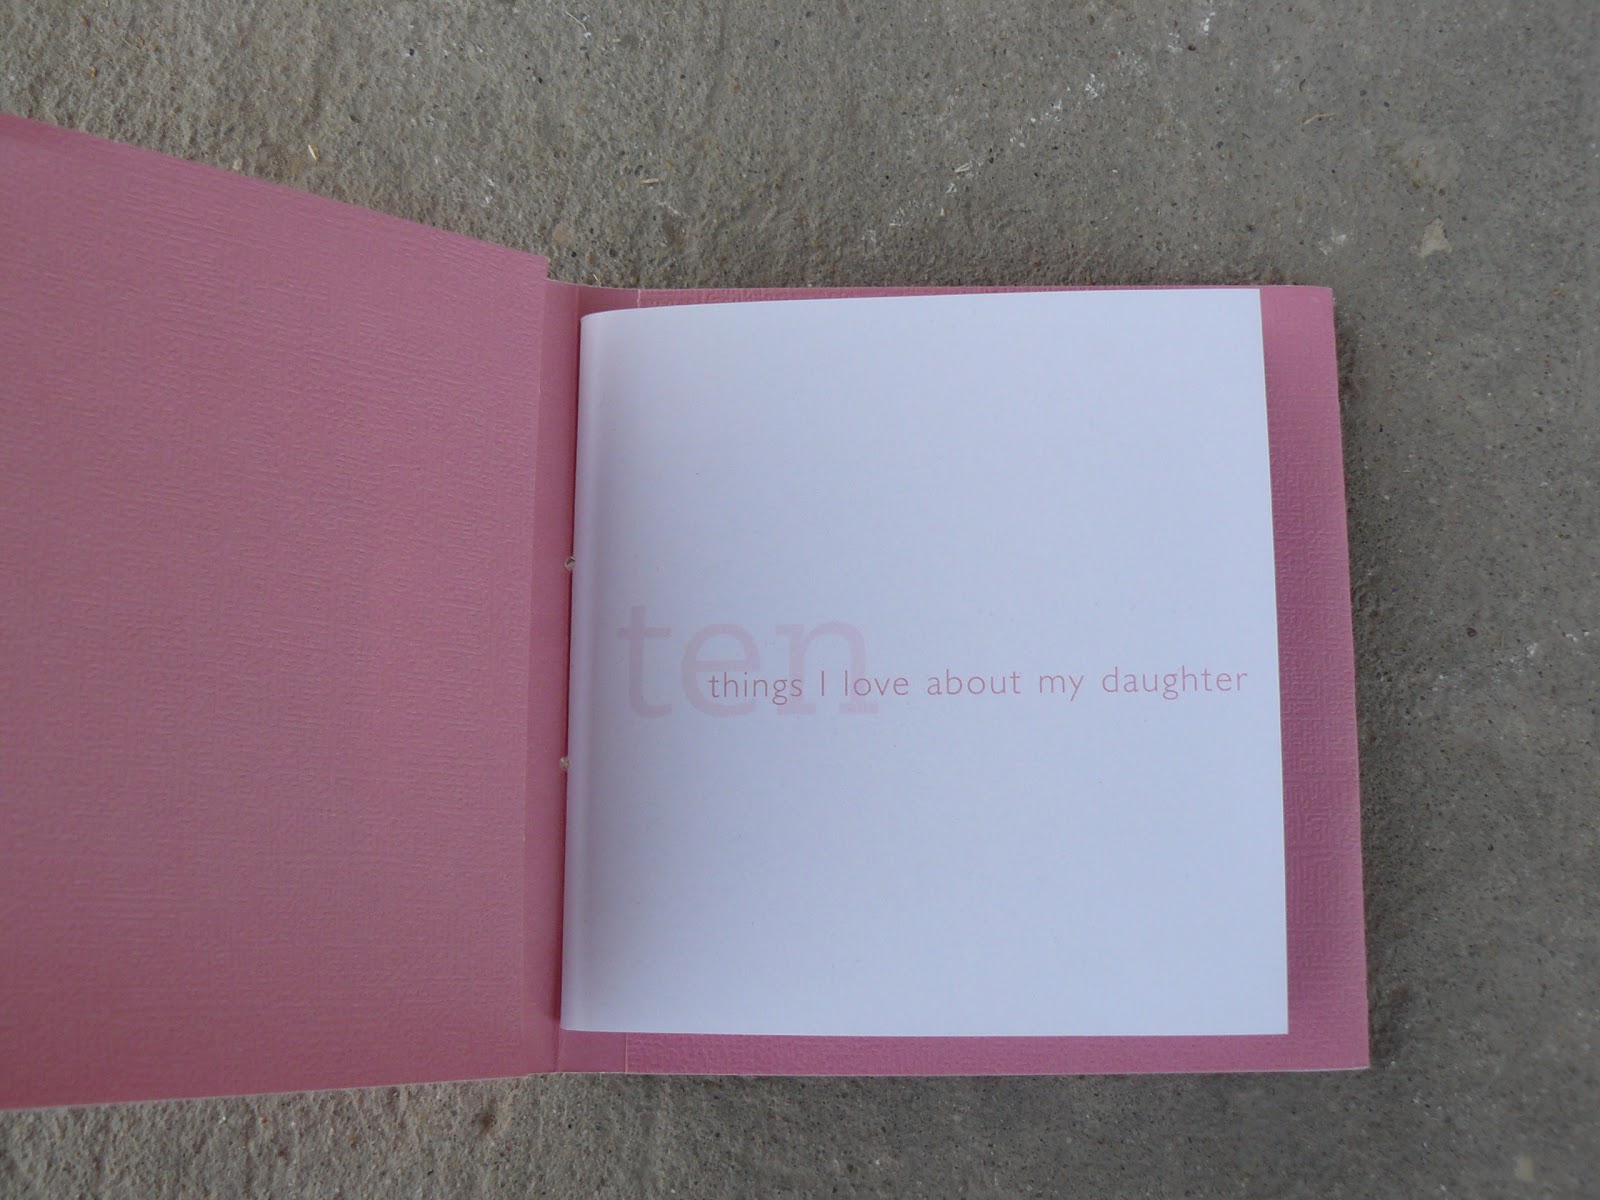
Idea #2: 10 Things I Love About You
I bought this premade book for this one but you could easily do the same thing yourself.  The idea is on each page you have a little picture (wallet sized) and then you write something you love about your child (or whomever you are making this for).  This is a great and easy idea because you only need 10 of everything (pages, pictures and ideas).  So easy to do in a short amount of time.  You could fancy up the pages and cover if you want but it is beautiful simple and plain also.


Idea #3
Photo collage books.  I love photo books.  They are so easy to make and can look as scrapbooky as you want them too.  There are tons of places to make photo books and there are always good deals on these.  Snapfish, Shutterfly, My Publisher, even Walmart have photo book making options.  My favorite easy thing to do is make photo collages (I use Picassa to do this) and then upload them as the pages in the book.  It is so easy and a great way to use lots of pictures (if you are like me and can't delete any of your adorable kids).


Idea #4: Paper Bag Pocket book
To make one of these you need to cut paper bags down to your desired size.  Put these together (eyelets work the best) with the open end out (these become pockets for extra pictures).  Once your book is assembled you can embellish however you like.  These are such cute mini scrapbooks.  The possibilities are endless and you can change the size to fit different photos.  This one used 3x5 photos.  I like these because they are a great way to make a special memory album of a certain event (this one was of all fall pictures).  It is something different and I love the pockets (they would be great places to store little journal entries).

Pin It!
Print Friendly and PDF

Nov 19, 2012

Keeping Memories: Made Simple (Part 2)

Here is another set of easy memory keeping ideas.  These are things that can both be made in a few hours or ideas that you can add to over a period of time.  Sometimes I just get a little bit of time in which I try and get something put together as quick as possible and other times I start something that I only have time to add to periodically.  Here are some examples of both.
Idea #1. A sisters picture book.  This is actually the second one of these I have made.  I intend to make one a year (and now that we have a baby brother in our family they will become siblings books).  These are so easy to make.  The best thing to do is look for an online picture ordering deal (like sometimes Snapfish has 200 prints for only a few dollars).  I never can think of 200 pictures to order or why I would want that many but for something like this it is perfect.  I always make one for each child when I am doing it.  I order a bunch of prints of them together, punch holes in them and make a cute cover.  Add rings and it is done.  You can write on each picture what they are doing but of course that adds time.  I did that on the first one I made but this second installment I did not.  It is just a fun little album showing them together.


Idea #2: A mini family album.
Last year after we got family pictures done I ordered extra prints for each girl of some of the family pictures and some of the individual pictures.  I made one for each girl-specifically with pictures of them.  I wrote a personal note on the inside cover of the album, laminated it and bound them.  It is just a simple little book with a specific theme.  And this is a good place to put in a plug for getting your own laminator and binding machine.  I ordered both from LTD and love them.  They are fairly cheap models (both in price and quality) but they do the job and are so handy for memory keeping ideas.  Just a thought for Christmas gift ideas.


Idea #3: Girly scrapbook. 
Like I said in the first of the series, I am not a good scrapbooker.  I found this cute set of scrapbook paper though that had all these great prompts for memory keeping.  It was meant for an actual scrapbook I know but I just cut the paper apart, wrote in the spaces provided, and added pictures in between and punched holes in the corner and put them all on a ring.  They turned out to be wonderful little mini albums about each girl.


Idea #4: Picture DVD's.  
There are lots of programs out there to create DVD's of pictures.  I use Smilebox. It is super easy and user friendly.  They have lots of different themes to choose from.  You can choose to add their music options or if you pay for their service you can add your own music.  I try and create one of these each year-either per child or of the family.  

Idea #5
A "What you Said" book.  My friend gave me this when Small Fry was a baby.  I don't have one for my other children and it is one of those memory ideas that is hard to keep up-especially if you have more than one child but it is fun and worth giving a try.  I didn't use it really as it was intended.  The pages had specific spots on which to record different things your child said.  I just basically wrote entry's like a journal.  I tried to record some of the super funny things she would say as well as make little entries of things she was able to do at certain ages (like "at 20 months you could do.....).  I only kept it up until she was a little over 2 I think but it is still going to be a fun record for her.  I tried to record things my little pumpkin said in my journal from time to time but I know I didn't write down nearly as many things for her.
Pin It!
Print Friendly and PDF

Nov 16, 2012

Keeping Memories: Made Simple (Part 1)

Let's face it-I am not in any position to sit down and make a full on scrapbook of anything probably ever again.  I have one started of my wedding but it abruptly ends with only a few honeymoon pictures with the rest tucked away in a box to be finished "when I get some time."  My own mom gave me my baby book and a box of pictures and said, "maybe you will have time to finish this someday."  Ya right.  Memory keeping is hard.  It takes time to plan, it takes time to gather supplies and it takes time to actually do and guess what...I don't have the time just like so many others.  I do want to have some records of all the wonderful things there are in life however to leave for my children-both with photos and just in words.  So while I am not good at, nor will I ever be good at, making a full on scrapbook for my children, I am good at (or try to be good at) creating more simple records of our lives to leave for my children and grandchildren.  This is the first of a mini series of simple memory keeping ideas.

Idea #1: A holiday recipe book.  
 I got the pages for this book at Michael's a couple of years ago.  I covered each page with scrapbook paper and made recipe card pockets for each page too.  I came up with a few holiday categories like: desserts, pie and breads.  I wrote out a couple of my favorite recipes on recipes cards that I also bought and tucked them in the pockets.  On the front of the pockets I wrote a little note about why this recipe was meaningful, or a little story about the recipe or who it was that first made it.  I love the idea of leaving behind some of my favorite food recipes written in my own handwriting with a story attached to each one. Hopefully I can create a memory with my kids with each recipe too.

 Idea #2: Super simple mini album
 When Small Fry was 17 months old I took her to New York City to visit my brother.  I wanted to put all the pictures together from our trip but I needed to have it be quick.  I made a super simple album of cardstock, added a background paper to each page, added pictures with a few embellishments and wrote a caption about each picture.  I know that my own handwriting is not as neat as typing but I actually really love the idea of leaving as many handwritten notes as possible.  The point of this album is that you don't have to have the fanciest paper, or coordinating scrapbook packs to make an album.  It is the memories that matter-not the paper.

 Idea #3: Simple Scrapbook with no embellishments
 I made this when small fry was just a baby.  I just loved every picture I took of her and couldn't find enough ways to preserve them.  This one is made from a 5x7 scrapbook paper pack.  I attached each photo to the front and back of the pages and wrote a brief description.  Simple as simple can get.
 This one is the same idea just with horizontal pictures instead.


 Idea #4: Fold out paper bag album
 This is one of my favorites.  In fact I had forgotten about it until I went to gather up all these little memory books.  Now I want to make another one.  This is made from 4 paper bags that overlap in the middle.  There are enough places to put 12 different pictures so I made it with 1 picture from each month of Small Fry's first year.  The paper bags create nice little pockets too to put pictures in.  I again hand wrote everything. There are a few simple embellishments but overall it was really easy but turned out so interesting and cute.

Pin It!
Print Friendly and PDF

Jun 26, 2012

Super Simple Scrapbook/Photobook

I've mentioned this before but I will mention it again; I am not a good scrapbooker.  I have tons of photos that will never be scrapbooked.  It is just too time consuming for me.  I know some people absolutely love it and it is a passion and I wish that were me, but it is not.  I want to preserve my memories but I want them to be cute and easy to do.  On my personal blog I post a lot of collage pictures like this:

as I just can't seem to delete very many of my cute girls and that always makes for way too many to post, so I turn them into collages.  Well last year I wanted to see if I could just put all those collages into a photobook so that I could have a hard copy of all of them.  I used Snapfish and created a photobook where each page was one of the collages I had previously made.  It was simple and easy.  I usually try and make a photobook once a year but it is really hard to pick and choose all the photos and choose backgrounds etc (especially if you are like me and put it off until the last moment before a certain deal ends).  I really like the collage book because I had everything made ahead of time and just had to drag and drop the pictures.  Last month on Facebook I saw a little ad on the sidebar stating that if I "liked" MyPublisher I could get a coupon code for some discount on a photobook.  I can't remember the exact discount but I decided that it was a good deal and I hadn't ever used this company before but I wanted to see if I could make another collage photo book.  Out of all the companies I have used (Snapfish, Blurb, Picaboo) this was by far my favorite.  It was really easy to use, I liked how it let me organize my photos so I didn't have to search through all of them to choose which one to add next.  I did that all in one step.  And I really liked the price plus they always have tons of coupon deals. 
So here is what I did (and literally I did all of this in 3 days).  I hadn't had many new photo collages made of a half a years worth of pictures so I started with that.  I use Picasa to edit all of my photos.  It is a program you download to your computer.  It gives you options to edit pictures, create photo collages, I use it to make my banners on my blogs, you can type text onto your pictures and more that I haven't even discovered.  It is really easy to create a photo collage.  You just click the pictures you want, you can download digital scrapbook paper to add backgrounds and then click the collage button then play away (if you want a tutorial let me know and I will create one).  Anyway I went through all my photos and created collages of them.  Some were really simple, some had a background, some were a background with one photo, some I added text and all I added the month and year they were taken.  Then I used MyPublisher to create my book.  I put the whole thing together in a couple of hours and found a coupon they were offering for a set price on photobooks no matter how many pages.  In the end with shipping it cost $48.00 and I think that is a pretty good deal for a 60 page photobook.  Here is a little look:


What I like about this is that you could leave a blank spot to write in it yourself if you want it to include your own handwriting.  You could also leave blank spots to include embellishments if that suits your fancy.  It is so easy-the easiest way to make a memory book I think.  It isn't fancy by any means but even that you could change.  You could pay more for a custom cover, or fancier paper or lay flat pages. If you are being held back by an overwhelming number of photos and you don't know where to start and you feel you don't have any scrapbooking bones in your body then this might be the answer for you.  And I am not getting paid or being given anything free to tell you this.  But I do have a little offer to share with you that I got in the mail with my photobook.  If you have never used MyPublisher then this is for you to try:

Go to : MyPublisher.com/friend and enter your e-mail address to receive a $20.00 giftcard to try MyPublisher.  It says it is for first time customers only and a one time use thing but that is a sweet deal. 

 And if you have used that up then keep your eyes open for other photobook deals (you can search online to find tons).  When one comes along it is simple to get a photobook made when you can just drag and drop already made photo collages onto a page.
Pin It!
Print Friendly and PDF

Feb 16, 2011

Digital Express Blog

My sister in law works for a company called Digital Express.  They specialize in digital scrapbooking products.  They have TONS to choose from.  I don't know about anyone else but I am really getting into this digital thing.  I don't hardly know anything about it but there are SO MANY CUTE IDEAS and PRODUCTS out there.  So here is the thing- Digital Express has just released a blog (click the button below to take you right there).  It is brand spanking new and they want followers and guess what I want them to have followers because they said once they reach 100 followers they will offer a month of free downloads.  PEOPLE THIS IS AWESOME.  So check it out, if you are into digital scrapbooking become a follower and let the free stuff get to us ASAP!!!

Stop in an check out the store while you are there to see all the great cute stuff they have and check out the designs made by my SIL-Mandy Parsons (she didn't tell me to say that by the way).
Pin It!
Print Friendly and PDF

Feb 1, 2011

Scrapbook Makeover

How to turn an "ugly" scrapbook like this:
 Into something more appealing like this:
 My brother won a bunch of crafting/scrapbooking supplies in a charity auction and sent me a HUGE box of great stuff.  Some of it was really cute and some of it was like this scrapbook (a bit tacky-certainly not my style).  I wanted to use the book but also wanted to have it be something that I would really like so here is what I did.
 First I took the scrapbook apart and laid it out on a piece of fabric and cut the fabric so that it was about 3/4" bigger all around my cover (or back) of the scrapbook.
 Then I applied a thick layer of Mod Podge to the front but I left the brown edge on the side because I liked that.
 I stuck my fabric to the front and smoothed it out...
 (here is a look from the inside)
 then I put a bit more Mod Podge around the inside edge and folded the fabric over.
 I added my ribbon detail to the front and folded it around to the inside also.  I found a coordinating piece of scrapbook paper that I glued to the inside (I used both glue and double sided tape). *sorry this picture is blurry*
 Then I repeated the whole process with the other half of the cover.  I put my pages back inside and it went from Drab to Fab.
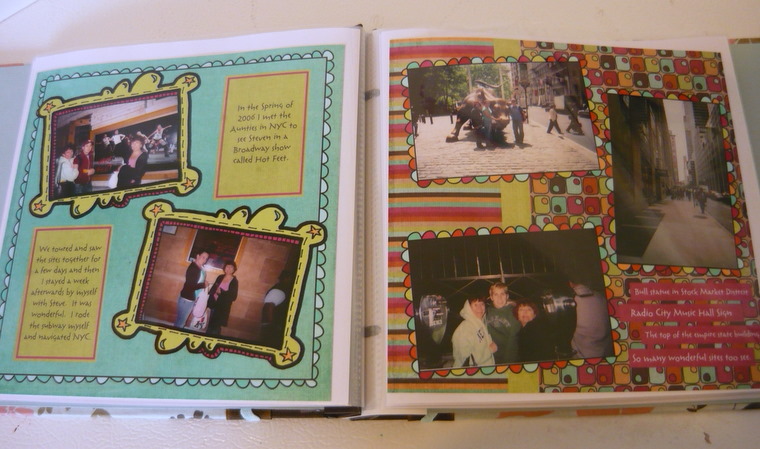
 And while I have your attention can I just put in a word for Smilebox.  I think it is my new favorite addiction.  It is like scrapbooking without all the supplies and online scrapbooking with out all the trouble.  They have TONS of layouts for scrapbook pages, newsletters, slideshows, and photobooks.  You can pick which one you like, add in your photos, change some of the page elements and then have it printed (at Sams club so you would need to have a membership there.  They do have a print at home option for $40.00 a year).  You can post your creations on your blog, or facebook or e-mail them to friends and family.  When I started playing around with it I instantly thought of a handful of people that this would be perfect for.  I love it and their stuff is super cute.  Check out some of the pages I made.
 These are from a family album I made.
 This is from a NYC trip album I made.  I went on this trip 5 years ago and have intended to scrapbook it ever since.  I found the pictures on an old USB and just went for it.  I have all the stuff in a bag too but lets get real-when am I ever going to get around to it.
Check it out and Happy Crafting.
Pin It!
Print Friendly and PDF
Related Posts Plugin for WordPress, Blogger...