Feb 28, 2011

Make Ahead Monday-Taquitos

For today's Make Ahead I wanted to share this DELICIOUS recipe for Taquitos.  I found it in LDS Living Magazine (Jan/Feb 2011 issue).  I decided that it would be much easier to just post the recipe instead of re-typing the whole thing.  I made one small change: instead of warming my tortillas in the microwave I fried them in a little hot oil.  This makes them super soft and adds a bit of extra flavor.  Also instead of freezing them uncooked-I baked these in advance.  This way they can be quickly warmed in a microwave or toaster oven for lunches or snacks.  I also ended up with 20 some of these things (minus the couple I scarfed almost immediately).  Enjoy!!!

taquitos
Pin It!
Print Friendly and PDF

Feb 26, 2011

Thank-You Card Week: One last idea

Just in case you haven't had quiet enough inspiration this week here is one more place to go for TONS of cardmaking ideas-including Thank You Cards.  Paper Crafts has these "go-to sketches."  They are basically like a bunch of card layout ideas.  I am so grateful for them.  I whipped up these three cards based on three different sketches in a matter of minutes.  Sometimes it is just figuring out how you want to design the card that is the hard part.  Paper Crafts has totally helped with that problem.  Here is where you can find the Sketches.


Pin It!
Print Friendly and PDF

Thank-You Card Week: Printable Thank-You Cards

When it came time for me to make my "Thank-You cards" I just had the hardest time coming up with inspiration.  I am sure others of you know how that is.  And for others yet you may not have the supplies or you may not be "crafty" and think you can't make these.  So I thought, "You know what we really need is a list of premade, click and print thank you cards."  And that is what I have for you today; a list of some of my favorite printable and free "Thank-You cards."  You can print these on cardstock or on photo paper, add a ribbon or other little embelishment and you are good to go.  There are lots more out there-these are just a few of my favs.  Click on the picture to take you to the card.  Enjoy!!!


And lastly (this one wouldn't let me copy the image) but it is gorgeous (orange and pink flowers)
Pin It!
Print Friendly and PDF

Feb 25, 2011

Thank-You Card Week: Tri-fold Thanks

 Today I am featuring the final card by Allisha.  I love this one!!!!
 For this card you will need:
1 piece of cardstock 11 x 5 1/2"
1 piece of patterned paper 3 x 5
1 piece of patterned paper 3 x 5 1/4"
3 buttons
Ribbon and tag

1. Start by cutting your paper and folding it.  You will fold (measured from the outside edge) one piece 3 1/4 and the other side 3 1/2".  The narrower one will go on the inside.

 2. Cut your patterned papers.  On the inside piece (3x5") round the corners.  Adhere both to the corresponding flaps.


 3.  Die cut the circles.  Allisha used Cuttlebug: Concentric Circles.  Adhere circles and buttons.  Allisha tied string in the buttons before adhering.
 4.  Spell "thanks" with rub-ons or stickers.
 5.  To keep the card closed Allisha used an "Around the block sliding tag."  I have never heard of that before.  You could make your own with a center tag and a piece of ribbon tied to each side.  This just slips over the card and can be slid off to open it.  I love the "spoiled rotten" tag.
Happy Crafting!!! Thanks Allisha for all your help.
Pin It!
Print Friendly and PDF

Thank-You Card Week: So tweet.


 Bird Pattern


Here's another "sweet" idea.

Happy Crafting!

Pin It!
Print Friendly and PDF

Feb 24, 2011

Thank-You Card Week: Using Picasa


Those of you who are pro's at Photoshop will laugh at this meager attempt at computer designed Thank-you cards but perhaps there is someone out there like me: slightly computer challenged but interested just the same, who might benefit from this.
Everything seems to be about saving time in my life.  One thing that I am finding that really saves me time and is really getting more and more enjoyable is the digital world.  There are so many cute digital scrapbook kits and papers out there and it is really fun to try and create with them.  I am also newly in love with Picasa.  If you have never tried it, it is like Photoshop for Dummies.  So I thought, "why not create a Thank-You card using Picasa." 
Here is a tutorial to make this card:
I got this kit from Everyday Mom Ideas.  She has fabulous digital scrapbooking kits for free.
Okay so what I did:
1. I took a profile picture of Small Fry (this was taken almost a year ago-but better late than never right).
2.  I shrunk it down and printed it off on regular paper in fast draft.  Then I traced around her head with a permanent marker to define what I wanted as her profile.  I then cut that out.  I traced that onto black paper and cut it again.  I scanned this into my computer and saved it as a jpg.

 3.  I downloaded the scrapbook kit I wanted.  Then when you open up Picasa it will automatically upload any new pictures that you have recently added to your computer (so it automatically uploads the scrapbook paper and the scanned picture for me).  NOTE: you can not use cutesy extras like buttons, ribbon, clipart in Picasa-just the paper in a digital scrapbook kit so save yourself the wasted time trying to upload them).  Once uploaded I go to the "library" in Picasa and find my scrapbook papers first.  Click on the ones you want to use (if you hold the ctrl key while clicking you can choose more than one).  These will appear in your holding tray.  Find the profile scan too and click on that to add it to the tray.  Once you have selected everything you want hit the "collage" button.
4.  You will see all your selections on a plain background.  Select the one you want to use as the back ground (by clicking on it) and click the "Set as Background" button.  Now, to allow you to layer your other selections in the order you want, click on each one and then on "remove" to put it into the clips organizer on the side.
5.  Click on the selection you want to use first from the left hand side and drag it to the collage.  Resize as desired.
6.  Continue adding selections.
7.  After you have everything you want as far as images goes on your collage click the "settings" button on the left hand side.
8.  Choose the finished size you desire.  I wanted these to be a postcard size so I selected 3x5".  Then hit the "create collage" button on the bottom of the left hand side.
9.  You will be brought to the "edit" page.  This is where you can change the color of the whole thing or add words.  NOTE: if you want to edit an individual piece then do this before you make all your selections in your holding tray and create your collage back in step 2.  Once you are here you will want to add your sentiment.  To do this choose "text" under the Basic Fixes tab.  Scroll through your text options to choose one you like and type your sentiment.  Move it and change it's size as desired. When you have your words where you want them and how you like them choose "apply."
10.  It is time to print now so you will want to make sure you have no other selections in your holding tray except this card.  Click the "print" button on the bottom.  It will take you to a page that looks like this.  On the left hand side you can choose what size you want your collage to print as and at the bottom of the left hand side you can choose how many copies per page you want.  I did 4 so that I wouldn't waste paper.  If something doesn't look right then hit the "cancel" button to return to the edit page.  If it looks how you want it then select print and away you go.  You can print these on photo paper for the best look or on cardstock.


And there you have it.  Pretty easy!!!
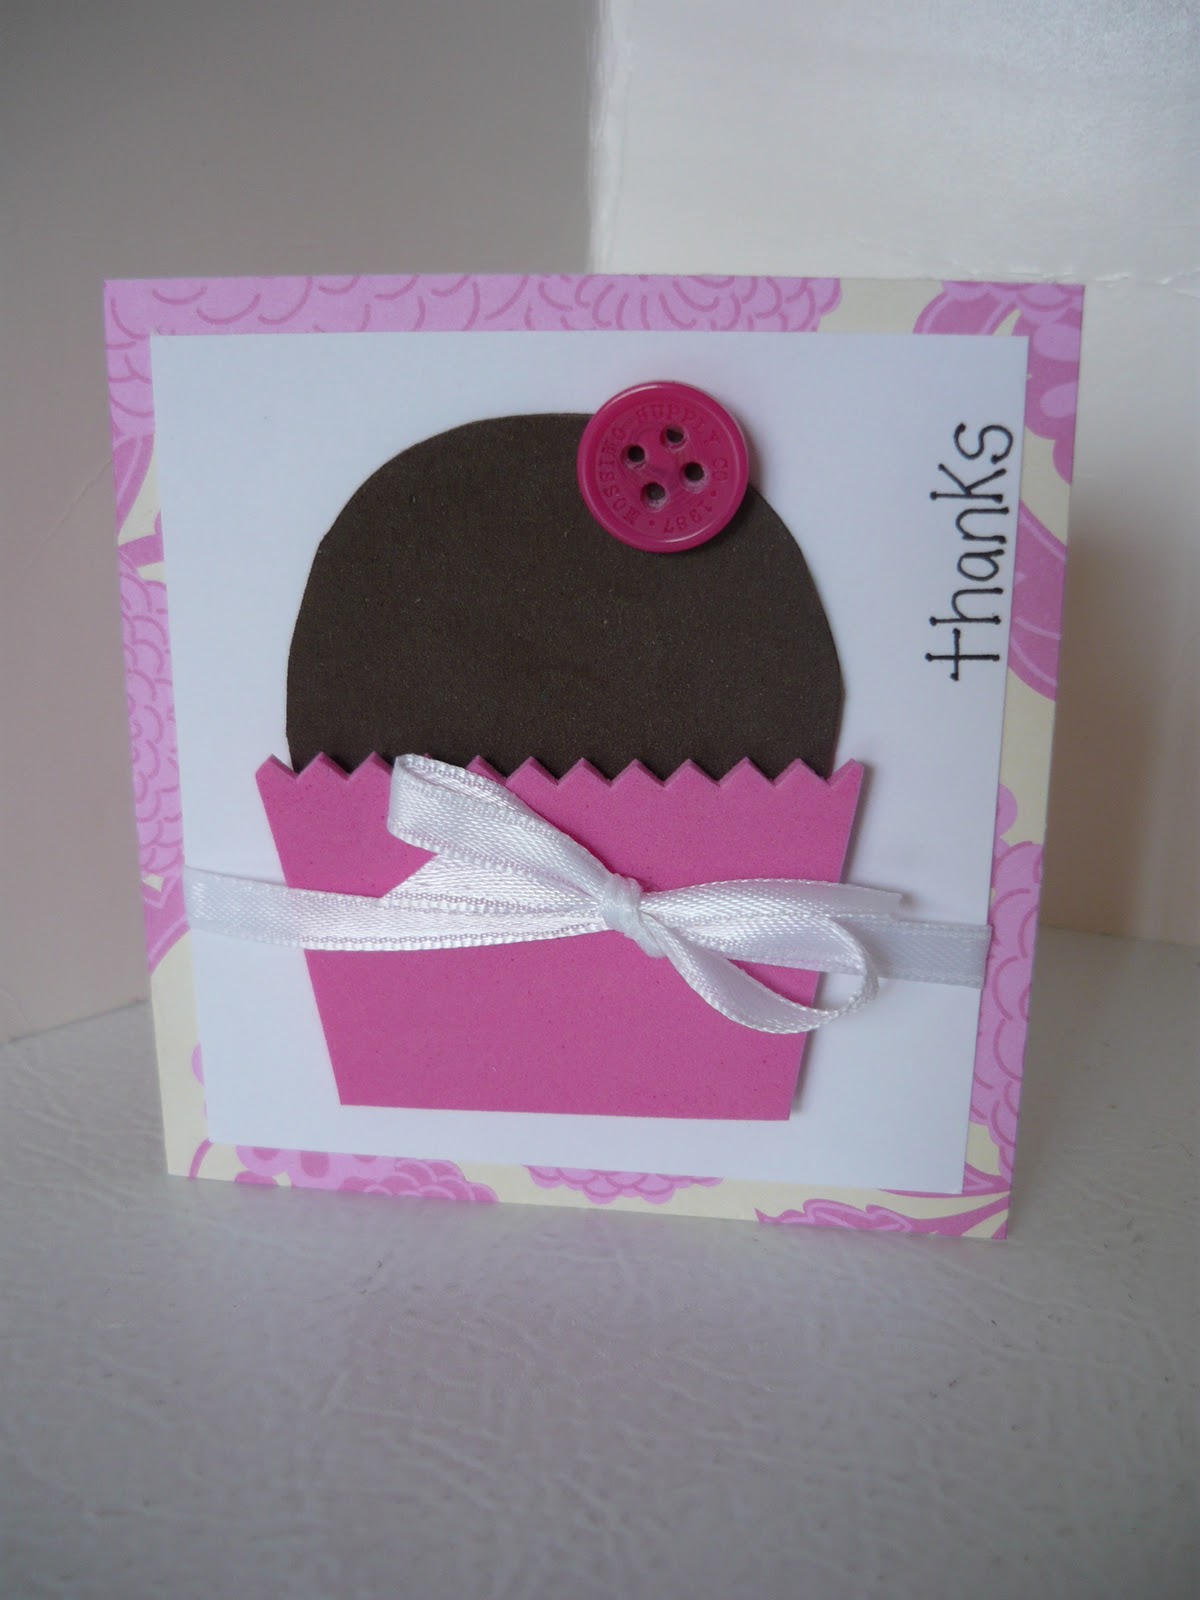
Here are a few others I made:

Happy Digital Crafting!!

 
Pin It!
Print Friendly and PDF

Thank-You Card Week: Simple Thank You

 Today is another feature by my friend Allisha. 
 For this card you will need:
1 card (she used kraft cardstock) 5 1/2 x 8 1/2"
craft stamp (on this card: Making Memories Floral/Dingbat Foam Stamp Set)
2 pieces of craft paper: Middle stripe is 1 x 4 1/4" and the flourish (bottom) is 3x 4 1/4"
2 pieces of ribbon
Die Cut letters or stickers to spell "Thank You"

1.  Cut card and fold.  Stamp top left hand corner.  Allisha used a walnut Stain Distress Ink.
 2.  Cut your two decorative papers.
 3.  Hook ribbon to the back of the striped center piece of paper (at the top) and then adhere the paper to the card.  Tie ribbon in a knot on one side.  Trim ends.
 4.  Adhere the other piece of patterned paper to the bottom of the card.  It should slightly overlap the center striped piece.

5. If you are using a die cut to cut your letters out, then turn them into stickers with one of these awesome sticker makers.  After we did the Birthday Card week and Allisha showed me how to use this (which makes adhering tiny pieces so much easier after you have turned them into a sticker, I went right out and bought one.)  Adhere letters to the bottom right hand corner.
 6.  Stamp part of the same stamp used in the top left hand corner on the edge of the right hand corner and you are done.
Happy Crafting!!!
Pin It!
Print Friendly and PDF
Related Posts Plugin for WordPress, Blogger...