Showing posts with label Thank you card week. Show all posts

Feb 26, 2011

Thank-You Card Week: One last idea

Just in case you haven't had quiet enough inspiration this week here is one more place to go for TONS of cardmaking ideas-including Thank You Cards.  Paper Crafts has these "go-to sketches."  They are basically like a bunch of card layout ideas.  I am so grateful for them.  I whipped up these three cards based on three different sketches in a matter of minutes.  Sometimes it is just figuring out how you want to design the card that is the hard part.  Paper Crafts has totally helped with that problem.  Here is where you can find the Sketches.


Pin It!
Print Friendly and PDF

Thank-You Card Week: Printable Thank-You Cards

When it came time for me to make my "Thank-You cards" I just had the hardest time coming up with inspiration.  I am sure others of you know how that is.  And for others yet you may not have the supplies or you may not be "crafty" and think you can't make these.  So I thought, "You know what we really need is a list of premade, click and print thank you cards."  And that is what I have for you today; a list of some of my favorite printable and free "Thank-You cards."  You can print these on cardstock or on photo paper, add a ribbon or other little embelishment and you are good to go.  There are lots more out there-these are just a few of my favs.  Click on the picture to take you to the card.  Enjoy!!!


And lastly (this one wouldn't let me copy the image) but it is gorgeous (orange and pink flowers)
Pin It!
Print Friendly and PDF

Feb 25, 2011

Thank-You Card Week: Tri-fold Thanks

 Today I am featuring the final card by Allisha.  I love this one!!!!
 For this card you will need:
1 piece of cardstock 11 x 5 1/2"
1 piece of patterned paper 3 x 5
1 piece of patterned paper 3 x 5 1/4"
3 buttons
Ribbon and tag

1. Start by cutting your paper and folding it.  You will fold (measured from the outside edge) one piece 3 1/4 and the other side 3 1/2".  The narrower one will go on the inside.

 2. Cut your patterned papers.  On the inside piece (3x5") round the corners.  Adhere both to the corresponding flaps.


 3.  Die cut the circles.  Allisha used Cuttlebug: Concentric Circles.  Adhere circles and buttons.  Allisha tied string in the buttons before adhering.
 4.  Spell "thanks" with rub-ons or stickers.
 5.  To keep the card closed Allisha used an "Around the block sliding tag."  I have never heard of that before.  You could make your own with a center tag and a piece of ribbon tied to each side.  This just slips over the card and can be slid off to open it.  I love the "spoiled rotten" tag.
Happy Crafting!!! Thanks Allisha for all your help.
Pin It!
Print Friendly and PDF

Feb 24, 2011

Thank-You Card Week: Simple Thank You

 Today is another feature by my friend Allisha. 
 For this card you will need:
1 card (she used kraft cardstock) 5 1/2 x 8 1/2"
craft stamp (on this card: Making Memories Floral/Dingbat Foam Stamp Set)
2 pieces of craft paper: Middle stripe is 1 x 4 1/4" and the flourish (bottom) is 3x 4 1/4"
2 pieces of ribbon
Die Cut letters or stickers to spell "Thank You"

1.  Cut card and fold.  Stamp top left hand corner.  Allisha used a walnut Stain Distress Ink.
 2.  Cut your two decorative papers.
 3.  Hook ribbon to the back of the striped center piece of paper (at the top) and then adhere the paper to the card.  Tie ribbon in a knot on one side.  Trim ends.
 4.  Adhere the other piece of patterned paper to the bottom of the card.  It should slightly overlap the center striped piece.

5. If you are using a die cut to cut your letters out, then turn them into stickers with one of these awesome sticker makers.  After we did the Birthday Card week and Allisha showed me how to use this (which makes adhering tiny pieces so much easier after you have turned them into a sticker, I went right out and bought one.)  Adhere letters to the bottom right hand corner.
 6.  Stamp part of the same stamp used in the top left hand corner on the edge of the right hand corner and you are done.
Happy Crafting!!!
Pin It!
Print Friendly and PDF

Feb 23, 2011

Thank-You Card Week: Wrap Around Card


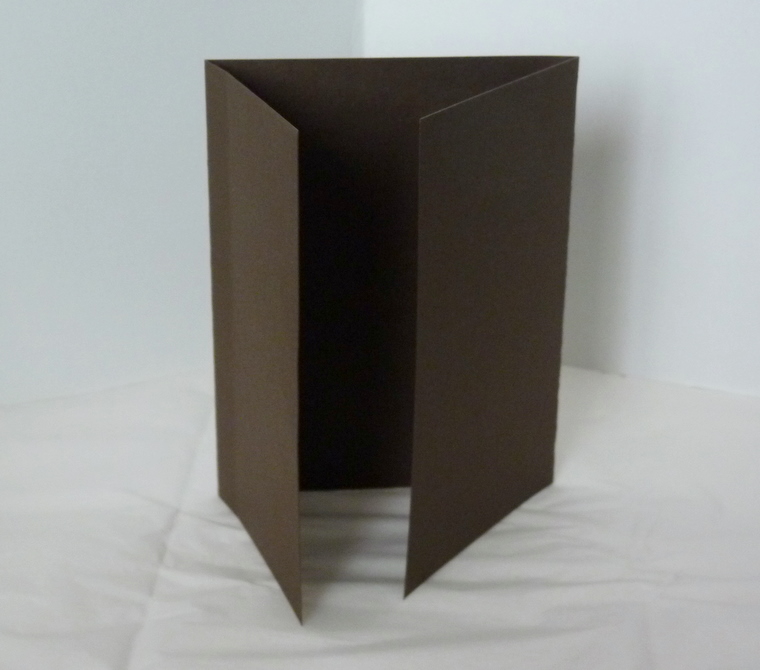
This card was inspired by a card pack I saw at the Dollar Store that reminded me of a wrap around sweater.  Here is what you will need:
1 piece of cardstock 12x4"
1 piece of cardstock for the pull out card 3 3/4x 3 3/4"
Embellishments of your choice.  If you want to make this one with the flower you will need one piece of tissue paper 4"x the length of your tissue paper.
1. Cut your piece of cardstock to size.
 2. Turn over and score every 4 inches (that means you will score twice-I know you know that but just in case someone was confused).
 3. Fold on score lines.
 4. Now cut your side flaps to a diagonal.  To do this use a ruler and match up the top of the fold to the bottom corner point.  Cut with an exacto knife.
 Will look like this.
 5. Repeat on the other side.
 6. To create the tissue paper flower take your piece of tissue paper and accordion fold it about 3 inches wide.
 7.  Cut out two flower shapes.  I didn't use a pattern because you don't need a perfect flower.
 8.  Layer the flower pieces, alternating the directions. 
 9.  Secure in the middle with a brad.
 10.  To assemble the card place glue dots as shown and...
 fold over.  Add the flower with a large glue dot.
 11.  Cut the pull out card to size.
 12. Embellish and add your sentiment.
 13.  That is it-you have a finished card with an envelope of sorts.

 Here is another version of the same card only a bit more masculine.
Happy crafting!!
Pin It!
Print Friendly and PDF

Thank-You Card Week: Simple Flower Thanks

Today I am featuring my friend Allisha.  She helped me out with my Birthday Card week and was kind enough to do another round of cards for Thank-You card week.

For this card you will need:
A card 5 1/2 x 8 1/2"
Two striped pieces of paper one 4 x 2 5/8 and one 4 x 1 1/4"
1 contrasting piece of paper for the middle 4 x 1"
brads
1 paper flower

1. Begin by cutting out your card piece and additional papers.
 2.  Adhere your papers to the front.
 3. Attach the flower with a brad on one side and additional brads to the lower right hand corner.
 4. Stamp sentiment on the front.
So easy and so cute.  Happy crafting!!
Pin It!
Print Friendly and PDF
Related Posts Plugin for WordPress, Blogger...