Well I am back now with another window screen beach bag but this is the over sized version. The first ones I made were perfect for one person but I often times found myself having to take 2 or 3 bags to actually fit all of our STUFF when we went swimming or to play in the sand. My friend and I were discussing that exact problem on a day we had taken our kids to play in the sand and both said that we needed a bigger bag. So out of necessity I created the over sized beach bag.
For this project you will need:
Window screen ( I bought a whole roll at Walmart for around $6.00) Unroll the screen and then fold it over so that you can cut a piece that is 24" (wide) by 23" long on the fold. (This is just the size that I made it but you really can make it what ever size you want and then adjust all the other pieces-there isn't a right or wrong size).
Fabric for the gathered ruffle (mine was 6"x 60" long-I wouldn't go shorter than that but you could make it longer and have a more gathered ruffle.
You will need 2 pieces this long.) I got this beautiful fabric from
Wholeport (and I just have to say as I was browsing again through their fabric selection I fell in love with about 25 new prints in only a couple of minutes)
Fabric for the handle loops: 1 1/2"x 12"
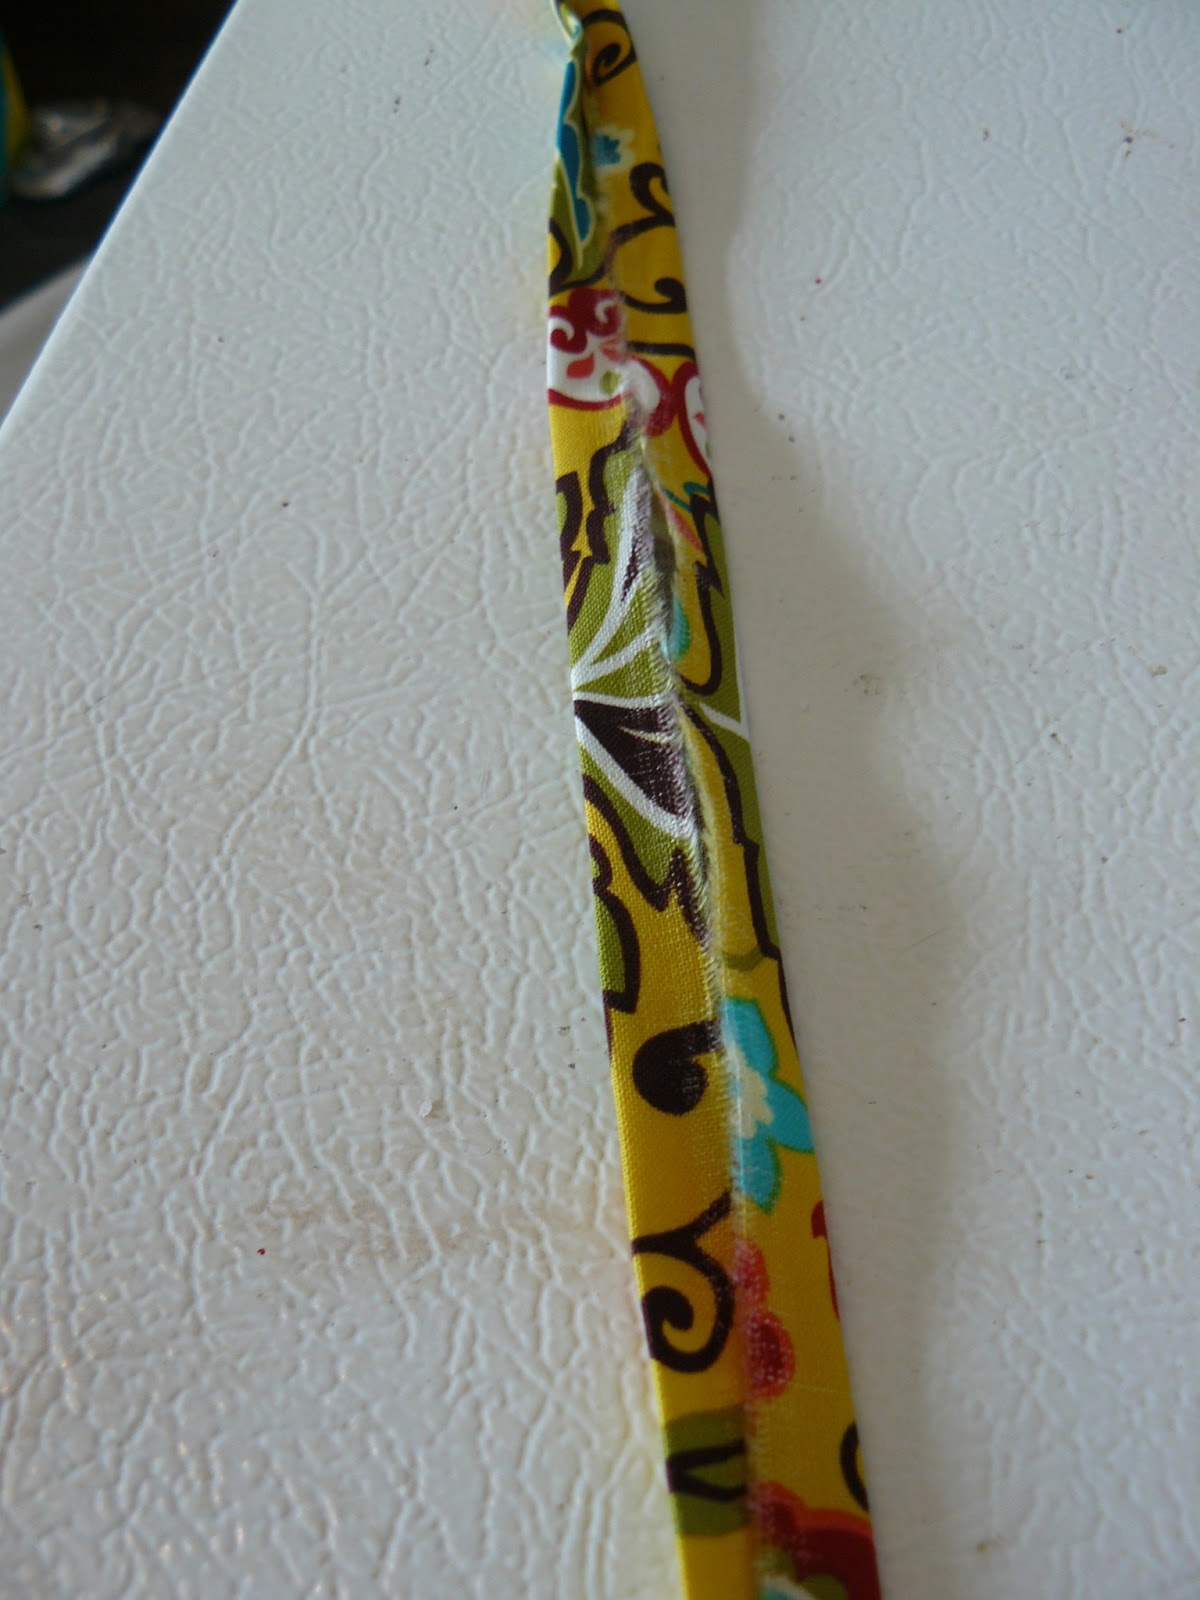
Fabric for the handles: 24"x4 1/2"
4 shower curtain hooks
To begin you will want to cut or tear your fabric for the ruffle and sew a gathering stitch up each long side.
Pull on your threads to gather the ruffle piece. Pin it to each side of the bag piece (not folded over) and adjust the gathers.
Now sew along each long side over top of the basting stitch. Don't worry about sewing the ends to the sides of the bag because they will get sewn in when you sew the sides of the bag. Repeat with the other ruffle on the other side of the bag. Use the first one you did as a guide for matching them up or you could measure too.
With both ruffles sewn in place pin the sides of the bag together and stitch a 1/4" seam.
Notice how the ends of the ruffle were caught in the stitching. Now you can trim that part off.
And it should look like this:
Next you are going to make squared off corners. To do this you will want to make sure the bag is wrong side out and then pull the sides and bottom of the bag out to form a point like this. Line up one side seam directly over top of the other side seam when doing this.
Sew a straight line across the point to form a triangle. I sewed mine so that at the point of the triangle it is 2" to the stitching line. I find a spot on my machine that I can use as a guide when sewing these.
Trim off excess fabric and repeat with the other side.
Turn the bag right side out and it should look like this and you are almost done.
Now hem the top by turning under the screen twice. I did mine a 1/2 inch each time. Pin in place. DON'T IRON IT!!! Now stitch along the bottom of the hem.
Now you will make the handle loops. To do this take your 1 1/2"x 12 inch piece and press it in half (wrong sides together).
Now open it up and press each side in to meet the middle fold and then fold it again.
Now stitch up one side at an 1/8 of an inch.
Cut that piece into 4- 3" pieces.
Now for the trickiest part of the whole bag-placing the loops. The only thing to remember with this step is that what you do to one loop you need to do to all 4. So if you measure in 6 inches and pin the loop and then pin the other side of the loop in 7" (which is what I did) then just remember to do that on the other 3 pieces.
Stitch over the loop ends. I stitch back and forth at the top of my hem and the bottom of my hem to really reinforce the handle loops.
On to making the handles. To make these I took the handle piece of fabric and folded it (right sides together) and stitched a 1/4" seam.
Then I turned it right side out and pressed it so that the seam was in the middle.
Stitch up each side of the handle piece with a 1/8" stitch.
Fold the handle piece in half (first in half width wise and then lengthwise) and measure down from the middle 1 1/2" and mark it with a pin.
Stitch from pin to pin creating a narrower section on each handle in the middle. I find it rests on my shoulders a bit better when I do this. Repeat with the other handle.
Lastly fold up 1/2" and then 3/4" on each end and pin.
Sew along the top only of this fold. Repeat on each end of each handle
Now loop the shower curtain hooks through the bag loops and the loops on the handles and then snap closed.
And you are done. Now you have a cute and very functional beach bag that doesn't trap all the sand from the beach and also helps your wet stuff air dry a bit while it is in the bag. It isn't washable in a washing machine but you could easily spray it off.
And it holds A LOT of stuff.
This project is quick and easy and pretty inexpensive. And you should have enough window screen left over to make one for someone else too. A great gift idea for the summer as well or for someone lucky enough to use it in a tropical location.


Great project!for me beter is the second bag with B!!
ReplyDeletehugs
http://freestilcreatingbyvilly.blogspot.gr/
I really have to look at your blog more often - going through and I love screen beach bag, the bed sheet pajama pants & colored coffee filter wreath. Great ideas that I have to try myself too.
ReplyDelete