
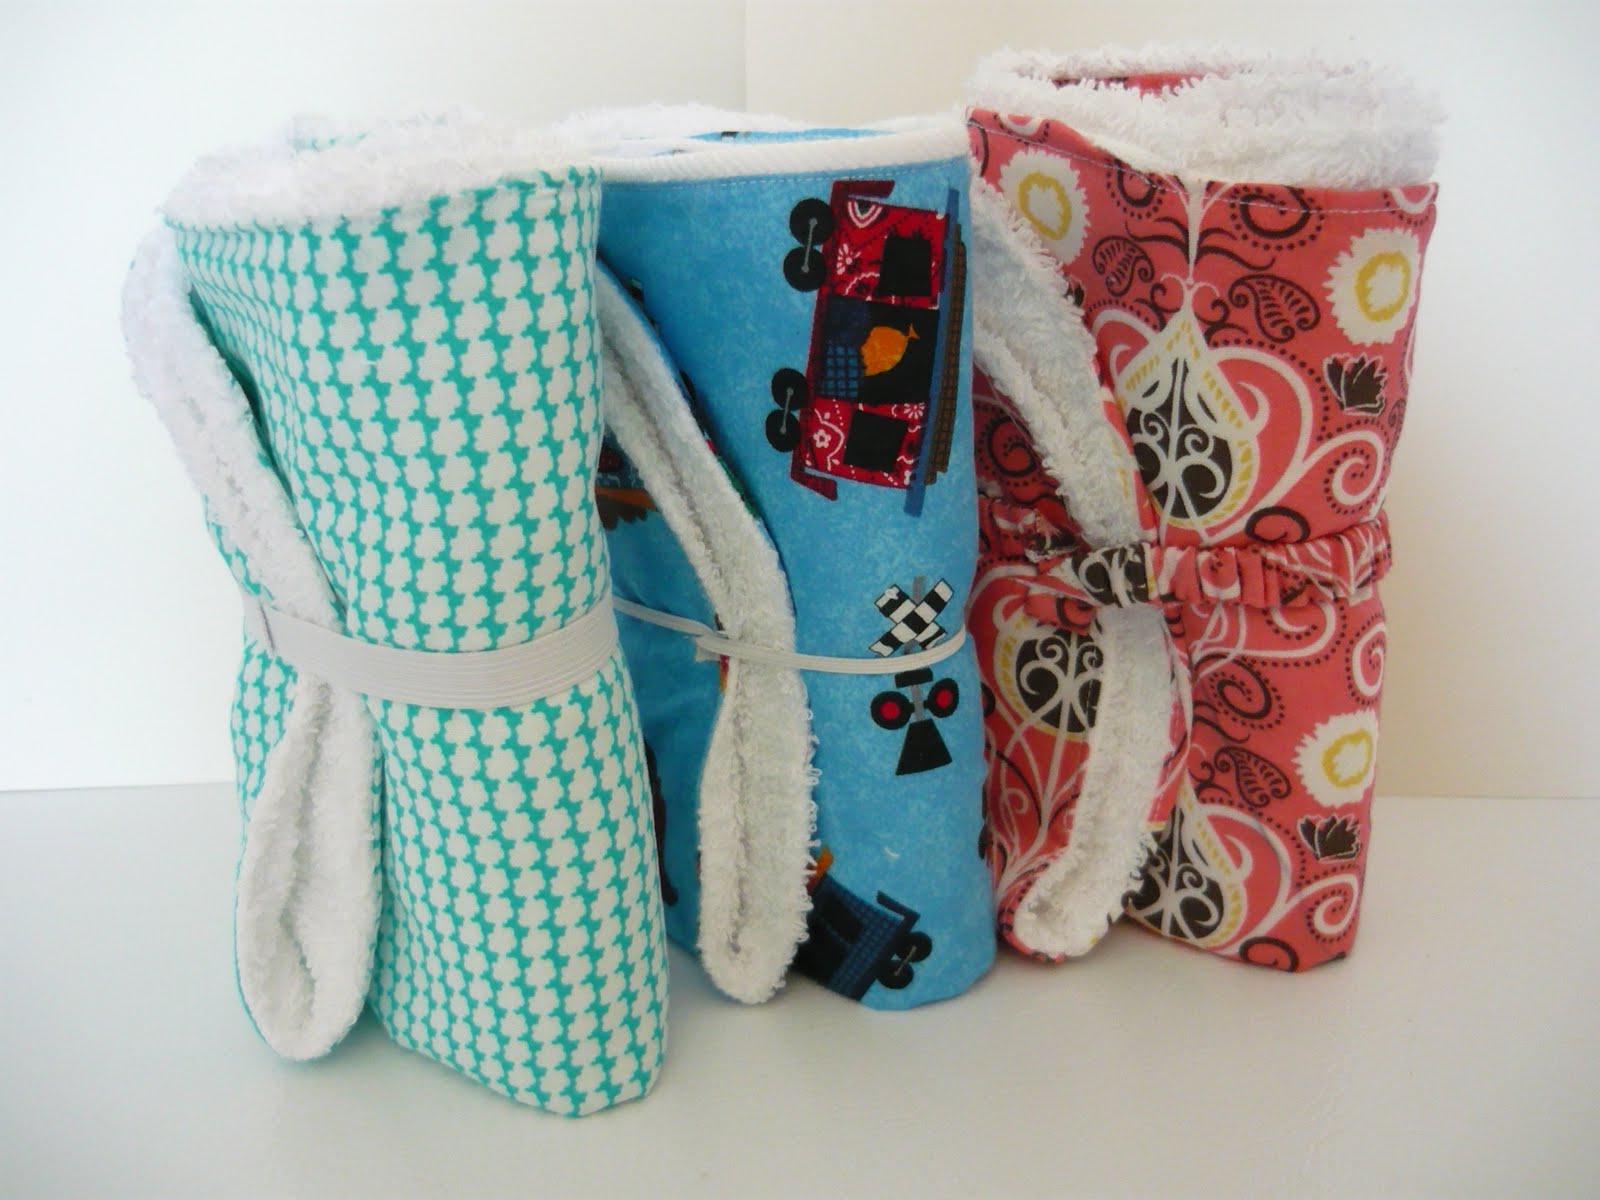
 Here is a tutorial for making the compact change pad. This is to make the pink one shown with the casing over the elastic. You can also make it without the casing and just plain elastic like the other two shown.
To make the actual change pad you want to follow the same instructions from my first folding change pad tutorial. Go here for those. The change pad size is the same 22x15 but instead of needing an extra 3 inch strip of fabric this time you will need a 1 1/2 inch by 22 inch strip plus elastic. Lets review those materials one more time:
Fabric for change pad 22x15
Terry towel for under side of change pad 22x15 (i used a bath towel that I cut up)
Tutorial to make change pad-go here
Strip of matching fabric 1 1/2" x 22"
elastic-no more than 1/4 inch wide (the measurement will depend on your folding-see below).
Step 1 This is to make the casing for the elastic. If you are a child of the 80's it is like making a scrunchie (you remember those?? I was a scrunchieaholic). Press the strip of fabric flat with your iron.
 Fold in half lengthwise and press again.
 Step 2 Sew down the open edge on your machine. Since this is a thin strip you want to sew as close to the edge as possible. Turn right side out and press with your iron.
 Step 3 Folding the change pad.
 Fold in in half lengthwise
 Now beginning at one end, fold the change pad in a 1/4 of the way.
 Repeat (try and keep it tight)
 And again
 Final fold
 Flipped over it will look like this.
 Step 4 Measure the elastic. To measure I hold my elastic like this (around the change pad-snug but not too tight) and then cut the desired amount. If you were not going to make a casing for the elastic you could sew it on at this step. You just sew the two pieces together to the top front flap. Then the elastic slips over and around the change pad. You will see where I mean to sew it in a couple of steps.
 Step 5 Thread the elastic through the casing. Here is a quick lesson how. Put a pin in one end.
  Stick it inside the casing and scrunch the fabric up over the pin.
 The hold the pin between your fingers and pull the fabric back over the elastic behind your fingers. Then repeat. When you get to the end of the elastic pin it to the fabric so that you don't pull it into the casing.
 Once through you should be left with the two unfinished ends of the casing like this.
 Put a pin through both ends to hold the elastic in place and tuck the end of the fabric down into the casing. This is kind of tricky and you may need to pull the fabric a bit longer than the elastic to get it to fit inside.
 I ended up pulling my fabric longer to tuck in both ends and therefore my elastic was no longer right to the end of my casing so I sewed over the end of where my elastic was inside the casing to keep it from moving.
  Step 6 Pin the casing to the change pad. You want to center it half way down the change pad. Only pin through the top layer. This is where you would pin if you were just using elastic without the casing. Pin the casing layers or elastic layers one over top of the other.
 Step 7 Sew through both layers. I stitched back and forth a couple of times to make it extra secure.
 Step 8 Now refold, making sure that the casing is on the underneath side when you fold the change pad in half. (I am giving folding instructions because I have seen a few people who I have given this change pads too just wad them up in a ball because they can't figure out how to fold them).
 TADA!!!! The perfect size if you want to carry a small diaper bag.


Love it!!!
ReplyDeleteJust a quick note to let you know that a link to this post will be placed on CraftCrave today [09 May 02:00pm GMT]. Thanks, Maria
ReplyDeleteI love both of these so much! What great gift ideas. Yay! Thanks so much for sharing, I'll be linking.
ReplyDeleteUau! Very nice!!!
ReplyDelete